I developed this how-to in the context of developing an extension to the Fantasy Trip: Melee/Wizard (FT) module, for the Death Test 1 (DT1) microgame, which is based on FT. In DT1, all maps are based on the same Melee map. However, they vary in terms of terrain (walls, pits, markers for where monsters appear, etc.) In DT1, each room variant has its own name, e.g., Azure room, Black room, etc. I wanted an easy way to re-use the same Map Board (from FT) but with alternative variants, being chosen by their name. Here are some examples from my final solution:
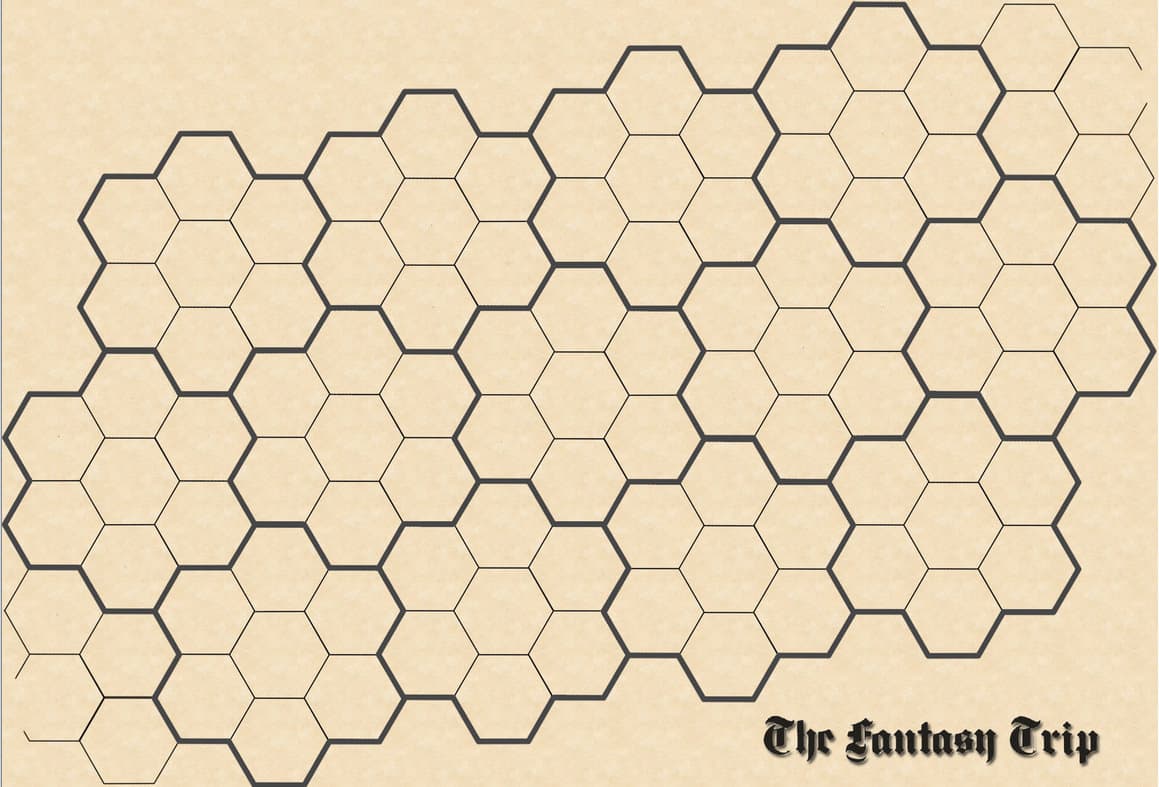
This is the basic Melee map, as defined in the FT module.
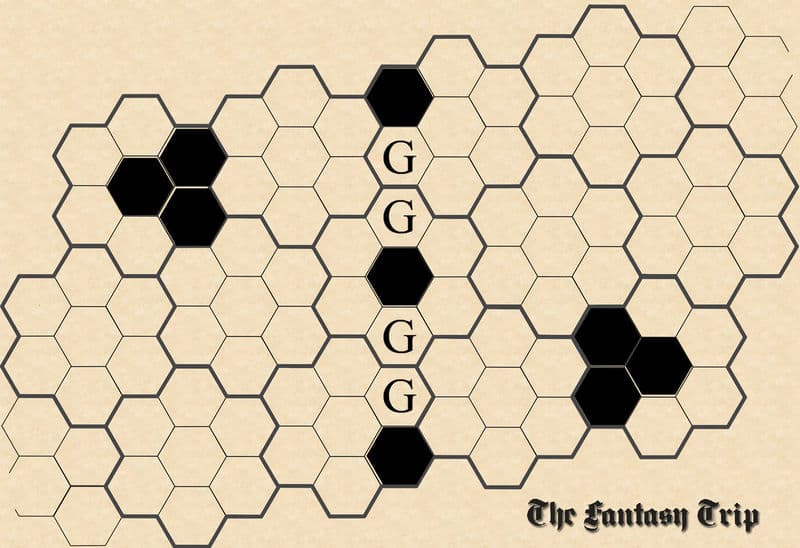
This is the Azure Room variant. Note the added walls and marked hexes (G’s):
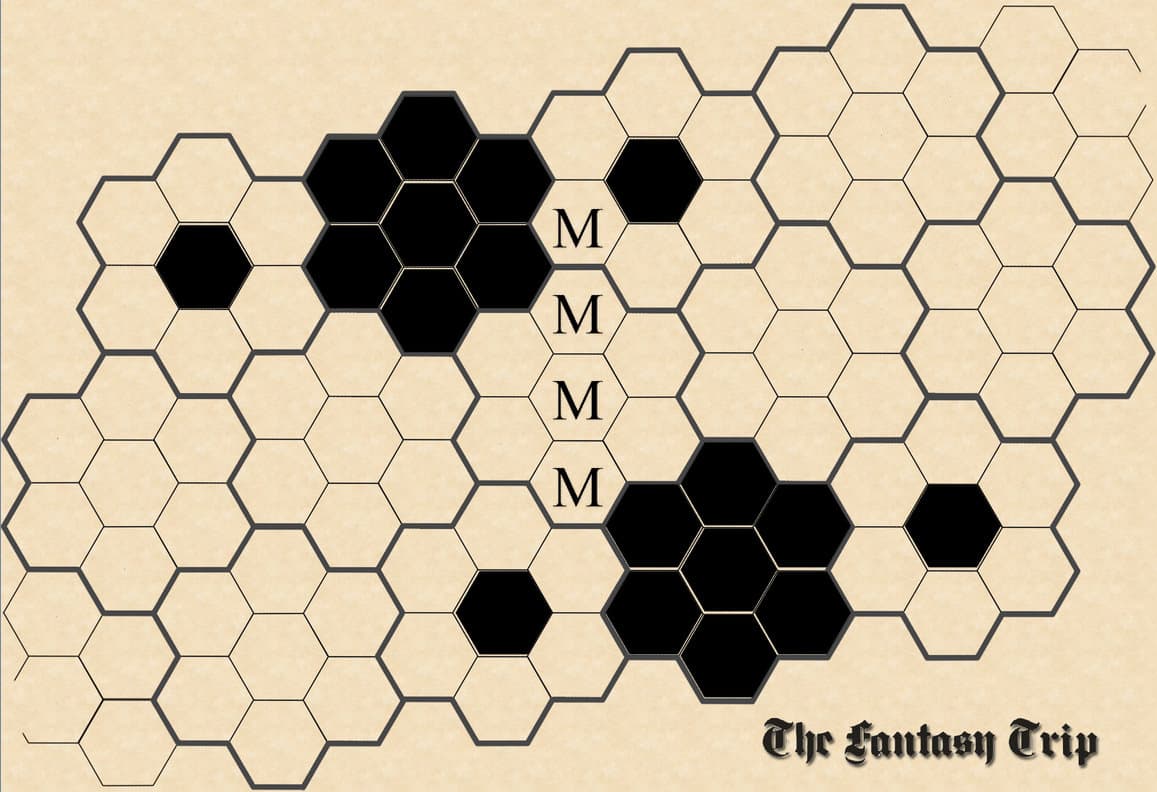
This is the Black Room variant, with different terrain again:
Caveat Utilitor
You should understand Prototypes, as this technique makes strong use of them. They’re explained elsewhere, so read up if you’re not sure.
Even though my work was done in a VASSAL extension, this how-to should also work for a main module in VASSAL.
Lastly, there is one drawback to my approach that may not suit your needs. All map variants start out “loaded” on the same board (which is strange looking) until a variant is chosen from the menu. There’s a work-around to this using a pre-defined setup, described at the end of this page. If you can’t do that, you may not like my solution.
Essential elements
To explain things, it’s simpler to think of just one variant, say Azure. All of its terrain will be pieces that need to move on and off the basic Melee map in a coordinated fashion. I use the At-Start Stack trait in the Map element of each piece to position it at its location on the map. To move it off the map, I use the Send To Location trait to send it to someplace invisible, say -100, -100. The cool thing about this trait is that there is an “undo” command for it. So, if you undo the move off the map, the terrain piece will go back to its original location. This is how pieces swap in and out for each map variant.
All pieces move off the same way, so I have a prototype for “Terrain Common” that takes care of basic terrain definition and moving off the map.
A given variant’s (e.g., Azure, Black, etc.) pieces move back on in the same way, but only when that variant is called. So I have a simple prototype for each variant that takes care of moving the piece back on the map. Basically, it just does an “undo” of the move off the map.
Moving any terrain piece off the board
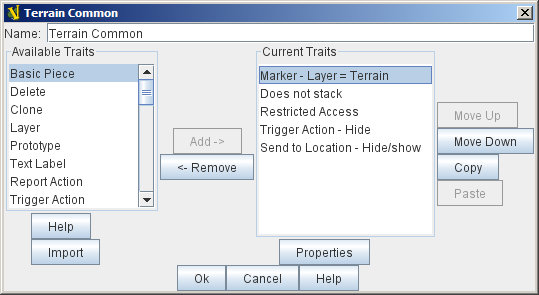
All terrain pieces move off the map the same way. Also, they shouldn’t be moveable by other players, etc. So, I defined a Game Piece Prototype as follows:
Here is how each trait is defined:
- Marker - Layer = Terrain: this is needed so that the terrain pieces always show at the bottom layer. If I didn’t do this, other pieces might show up “under” the terrain. Note that the “Terrain” layer has to be defined in a Game Piece Layers trait of the Map Board (in my case it was done in the FT main module).
- Does not stack: this was set with “never” and “never” in the options, to make sure it can’t be selected or moved.
- Restricted access: This trait was set so that a “Bogus third party player” had restricted access… The idea is so that nobody can move the terrain pieces. I got the idea from the FAQ.
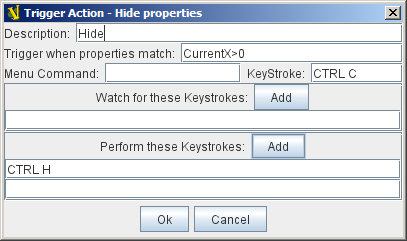
- Trigger Action - Hide: This action is the higher-level action responsible for moving the terrain piece off the map. It only calls the Send To Location command defined below, but more importantly, only if the piece isn’t already off the map. If you send a piece twice in a row to the same location, the “undo” command to get it to come back won’t work. Here’s a screen capture of the Trigger Action - Hide trait:
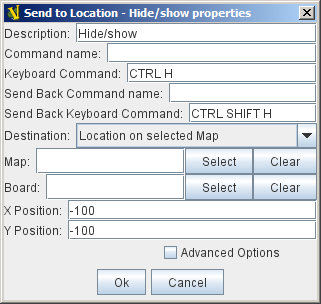
- Send To Location: This is the lower-level action that makes the piece move off the board. In fact, all terrain pieces that are visible on the main board will get moved to this location. Notice that the Send Back (undo) command is defined as well:
Moving only the terrain pieces of a variant back on the board
The terrain pieces of each map variant need to move back on the map (from the -100, -100 location) whenever they’re called to do so. Here’s how that works:
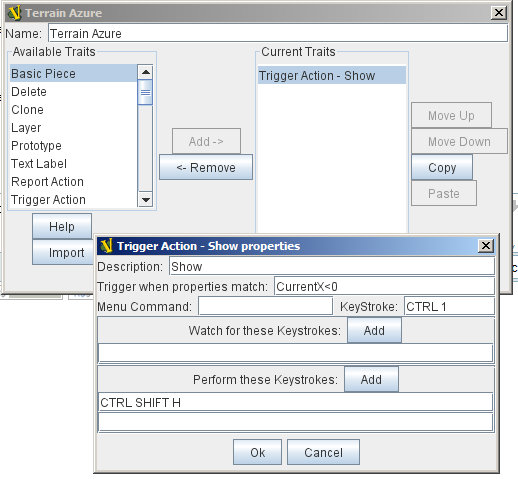
- Define a Game Piece Prototype for every variant (e.g., Azure, Black, etc.). Each one of these prototypes has only one trait, a Trigger Action that takes care of showing the pieces of this variant. You need to define a different key stroke for each prototype (variant). The following example shows the definition for the “Terrain Azure” prototype. In this case it is CTRL 1. In my case, there are 12 variants. I just used the top row of keys on the keyboard to keep them straight: CTRL 1, CTRL 2, …, CTRL MINUS, CTRL EQUALS:
Defining the pieces
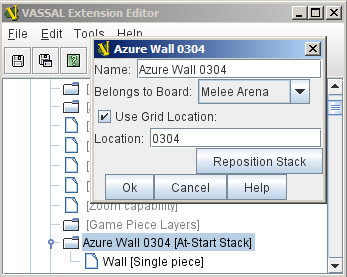
The first part of defining a terrain piece is to use an At Start Stack trait to position it. If you have a lot of terrain counters to place, this can be tedious to place them by hand. To make this easier, use a grid on the map board. The grid has to be numbered, so you can take advantage of the trait’s “Use Grid Location” feature. I didn’t include the grid information in this how-to, to save space.
Note that I repeated the 0304 in the name of the At Start Stack, since you can’t see the grid location in the list of the editor. This is useful when you have a lot of terrain counters.
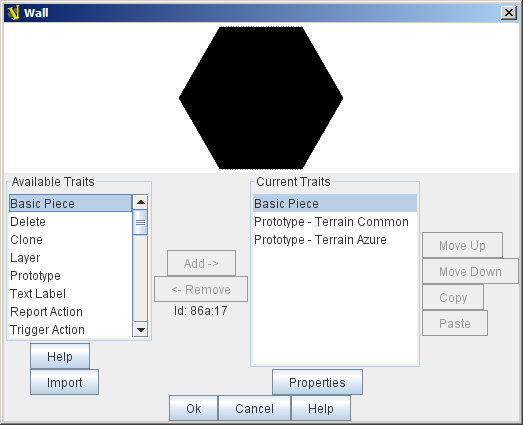
The second part of defining a terrain piece is the piece itself, defined under the At Start Stack trait. The image below is the definition of the “Wall” piece, that is part of the “Azure Wall 0304” (the naming is key, if you want to keep all the pieces straight). I assume you know how to define the Basic Piece and use the prototypes.
Note that this piece has the basic prototype “Terrain Common” as well as the specific one for the Azure variant of the room “Terrain Azure”. If it were a terrain piece in a different variant (e.g., Black), you’d have to use the prototype for the other variant (e.g., “Terrain Black”).
Use copy-paste to go faster
The VASSAL copy/paste functions are time savers when it comes to placing all your terrain pieces within a variant. For example, since Azure has several walls, once you’ve define the At-Start Stack trait as above, you can copy and paste it repeatedly. Then you just have to modify the “Use Grid Location” value (and the value in the name).
Note that to define the “G” terrain markers shown in the Azure map at the top of this page, I just used a different image file.
Putting the map changing actions into a menu
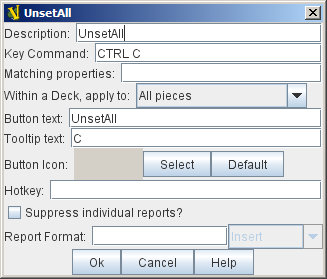
As you remember, thanks to the prototype “Terrain Common”, all the terrain pieces know how to move themselves off the board (it’s mapped to CTRL C, which only sends a CTRL H if the piece isn’t already off the board). Also, each variant will move itself back on the board when its appropriate KeyStroke is sent (Azure was CTRL 1, Black was CTRL 2, etc.). So, we put these into Global Key Commands (GKC) for the Map Board, where you also defined the At-Start Stack traits.
GKC to move all terrain pieces off
Here’s a GKC definition to move all the terrain pieces off the map:
GKC to move a variant’s pieces back on the map
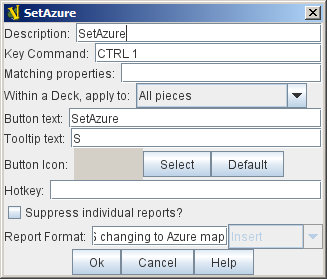
Here’s a GKC definition to move all the terrain pieces of a given variant back on the map. You’ll see it just sends the Key Command that will be picked up in the “Terrain Azure” prototype (CTRL 1).
The Report Format is truncated in the image, but it says “$playerName$ changing to Azure map” (this can be anything you like).
Remember to make a GKC like this one, for every variant (Azure, Black, etc.). Again, copy/paste will help you a little here.
Adding a menu for each map variant selection
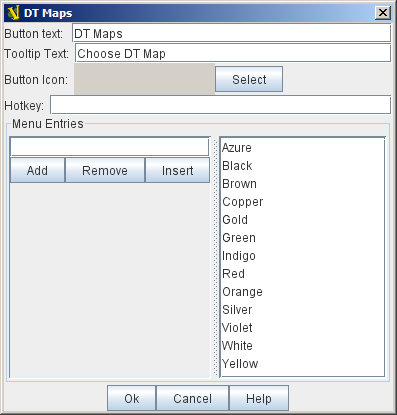
This is the final step. Define a Toolbar Menu for the Map Board, like the following:
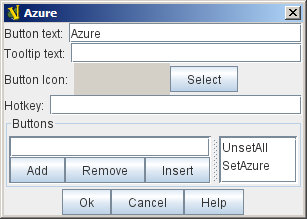
Now define a Multi-Action Button for each of those menu items. Here’s the first one for Azure. Note that it calls the GKC for UnsetAll and for SetAzure defined above.
That should be it! The final result of the menu looks like this, once you’ve defined all the multi-action buttons.

There is one catch to this approach: All variants are loaded “At Start” and visible, so it looks strange with all the terrain pieces on the same map at the same time. Unfortunately, as of the time of writing this How-To, there is no way to “initialize” a module with a GKC (that would be a solution). The way I got around this problem was to use a Pre-defined Setup, in which I had a saved game where all I had done was to choose one of the maps from the menu.
— Cris Fuhrman 2009/08/13 21:52
