Background
The SteamDeck from Valve is a portable console geared towards playing games from the Steam store. This store has a lot of different kinds of games available, ranging from causal games to monster strategic games.
The hardware used in SteamDeck is pretty good, with 4 Zen 2 cores and 16GB of high-speed RAM. The console runs SteamOS which is a variant of ArchLinux. That means that the SteamDeck has all the power of a Linux machine that one can hope for in such a device.
Typically, a SteamDeck device starts up in gamescope mode, which is essentially an shell dedicated to run the Steam application and to launch games. However, the SteamDeck can be switched into desktop mode where it will run a full KDE Plasma desktop. This is the modus-oprandi in which we will be running VASSAL.
VASSAL is a Java application, which means we need a Java Runtime Environment (JRE) to execute it in. In particular, VASSAL needs the full Graphical User Interface (GUI) of JRE, called Swing, to execute properly. For Linux, that means we need either X (nothing to do with the service formerly called Twitter, though that service as appropriated the X name and logo) or Wayland.
The SteamDeck device can run KDE Plasma either on top of X or Wayland, so the SteamDeck is really a prime candidate for installing VASSAL.
In the following, we will go through the steps needed to install and run VASSAL on your SteamDeck.
Installation
Needed Software
Since the SteamDeck in desktop mode already runs X or Wayland, we really do not need much.
- VASSAL (obviously) for Linux
- A VASSAL module to test things out.
- OpenJDK JRE
These are easily obtained on the SteamDeck. Below, we will assume your SteamDeck has internet access. We will mostly work from the terminal (called Konsole in KDE).
Important
Command listed below must be typed into the terminal exactly as written. Case matters, as in downloads and Downloads are not the same thing. For example, if the instructions tells you to write
sudo steamos-readwrite enable
then two commands should be entered exactly as written above at the command prompt. That is first, type s u d o [space] s t e a m o s - r e a d w r i t e [space] e n a b l e [enter].
If you are reading this on your StreamDeck, you can highlight the commands and copy them to your clipboard ([ctrl]-c). In terminal you can paste the command with [ctrl]-[shift]-v or use the Paste button.
Preparations
If your SteamDeck is currently in gamescope mode, you must switch to desktop mode (see here or here). Essentially,
- Press the Steam button
- Select Power
- Select Switch to Desktop
- Wait for the device to switch to the desktop
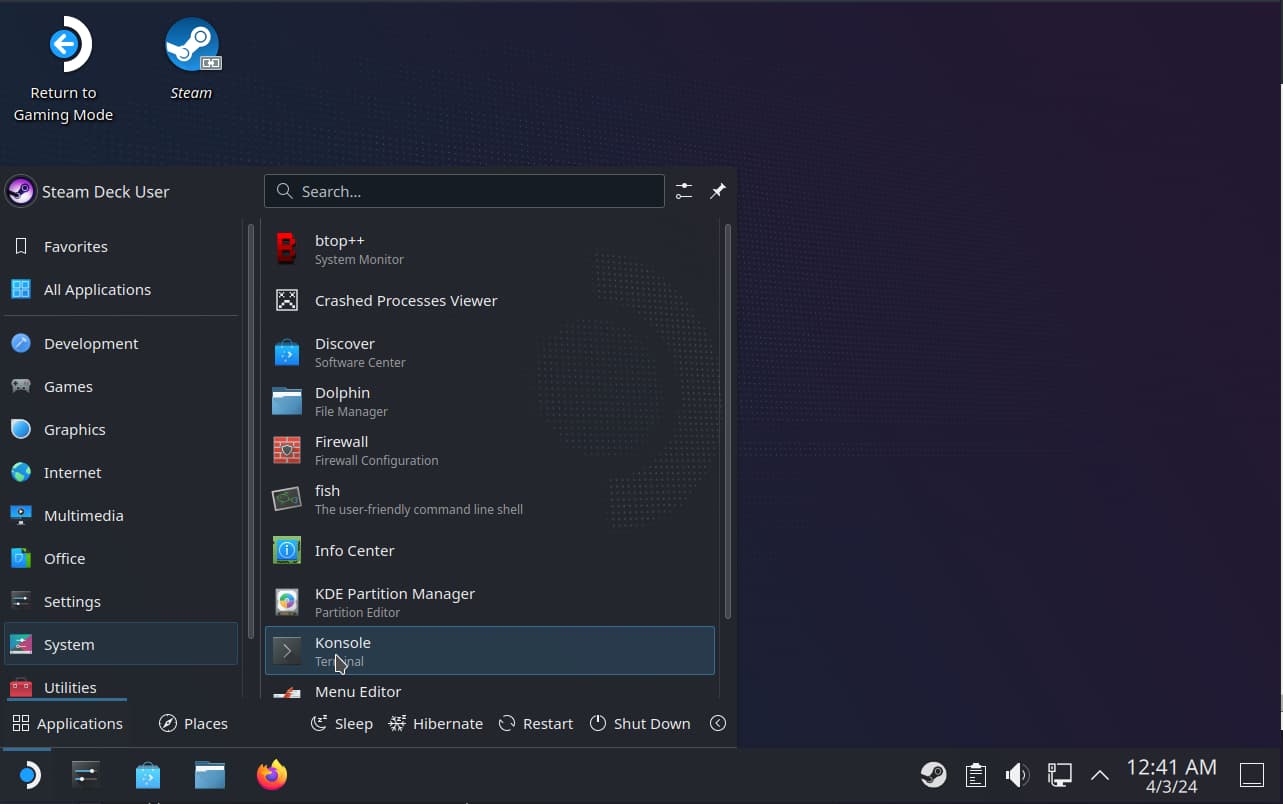
When the SteamDeck is in desktop mode, launch the terminal.
- Press the Steam icon in the lower left corner (application menu)
- Select System
- Select Konsole
If you haven’t already, you need to set a password for the current user - deck. This is because we will use the application sudo to install packages. sudo is a way to temporarily obtain super-user (or administrative) privileges on a Linux platform (something Windows only recently has obtained).
To set a password for the deck user, execute
passwd
in the terminal. You should select a password that is reasonably safe (at least 8 characters, mixed lower and upper case letters, and at least one digit or other non-letter character), but also one you can remember. You will need to remember it for all eternity.
Once you have done this, you are ready to install VASSAL.
The Quick Way
This method should work, but has not been tested thoroughly (I tested it in an emulator).
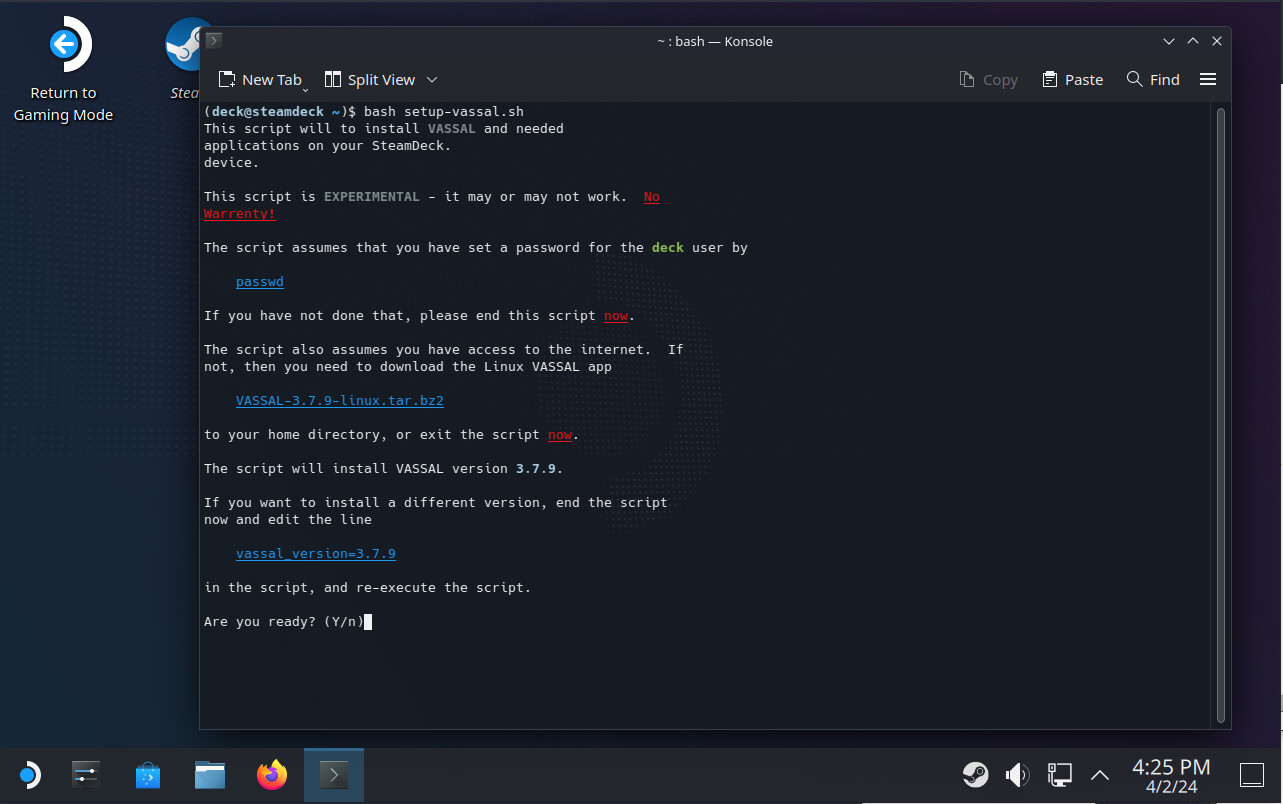
In the terminal run setup-vassal.sh
wget https://gitlab.com/wargames_tex/vassal_my_contrib/-/raw/master/steamdeck/setup-vassal.sh -O setup-vassal.sh
bash setup-vassal.sh
and follow the on-screen instructions
Once the process has completed, you will have VASSAL installed

Detailed instructions
If the above method fails, you can try to run them by hand. This will all be done in the terminal. If a step fails, do not proceed to the next step. Instead, ask for help (with details about what you did and what went wrong) on the VASSAL Technical Support & Bugs Forum.
Prepare the SteamDeck
First, go to your home directory
cd
Here, cd means change directory
Put the SteamDeck into read/write mode
sudo steamos-readonly disable
You will be prompted for the password you set earlier . Then initialise the key-ring used to authenticate packages
sudo pacman-key --init
sudo pacman-key --populate holo
(the last command is essential as it allows the system to validate
Valve build packages).
Now install the JRE
sudo pacman -S -noconfirm --color auto --needed jre-openjdk
Put the system back in read-only mode
sudo steamos-readonly enable
With this, you SteamDeck has the needed software to run VASSAL.
Download and install VASSAL
Below, replace 3.7.9 with the version you want.
In the terminal do
wget https://github.com/vassalengine/vassal/releases/download/VASSAL-3.7.9-linux.tar.bz2
Unpack the package
tar xjvf VASSAL-3.7.9-linux.tar.bz2
You will now have the directory VASSAL-3.7.9 in your home directory
ls
Here, ls means list content of current directory.
You can now remove the downloaded archive
rm VASSAL-3.7.9-linux.tar.bz2
Here, rm means remove the named file.
To make life a little easier you must create a symbolic link from the unpacked VASSAL directory
ln -s VASSAL-3.7.9 VASSAL-current
Here, ln -s means create symbolic link (alias) from VASSAL-3.7.9 to VASSAL-current.
And to make life even easier you must create an command alias for VASSAL
echo -e "\nalias vassal=$HOME/VASSAL-current/VASSAL.sh\n" > ~/.bashrc
Et voila, you are ready to go. Open a new terminal (or create a new tab in the current terminal with [ctrl]-[shift]-t) and close the old terminal (or tab).
Additional (optional) steps
Create a Desktop Icon to Launch VASSAL
In the terminal do
nano ~/Desktop/VASSAL.desktop
nano is a small text editor. In nano type in the exact lines
[Desktop Entry]
Type=Application
MimeType=application/x-vassal-module;application/x-vassal-log;application/x-vassal-save
Name=VASSAL
Exec=${HOME}/VASSAL-current/VASSAL.sh
Icon=${HOME}/VASSAL-current/VASSAL.svg
Actions=Run;Edit;
Categories=Games

[Desktop Action Run]
Name=Run
Exec=${HOME}/VASSAL-current/VASSAL.sh -l %f

[Desktop Action Edit]
Name=Edit
Exec=${HOME}/VASSAL-current/VASSAL.sh -e %f
and then press [ctrl]-x followed by y and [enter]. See also ~Desktop/VASSAL.desktop. Change permissions of the file to be executable (i.e., make it an “application”)
chmod a+x ~/Desktop/VASSAL.desktop
Here, chmod means change mode, and a+x means make the named file executable (+x) by all (a).
Associate VASSAL Modules and Logs with VASSAL
This assumes you made the Desktop icon for VASSAL as described above.
In the terminal, run
mkdir -p ~/.local/share/mime/packages
nano ~/.local/share/mime/packages/application-x-vassal.xml
Here, mkdir p means make the named directory (and any parents needed).
In nano type the exact lines
<?xml version="1.0"?>
<mime-info xmlns='http://www.freedesktop.org/standards/shared-mime-info'>
  <mime-type type="application/x-vassal-module">
    <comment>VASSAL module file</comment>
    <glob pattern="*.vmod"/>
    <icon name="application-x-vassal"/>
  </mime-type>
  <mime-type type="application/x-vassal-log">
    <comment>VASSAL log file</comment>
    <glob pattern="*.vlog"/>
    <icon name="application-x-vassal"/>
  </mime-type>
  <mime-type type="application/x-vassal-save">
    <comment>VASSAL save file</comment>
    <glob pattern="*.vsav"/>
    <icon name="application-x-vassal"/>
  </mime-type>
</mime-info>
followed by [ctrl]-x, y, and [enter]. See also ~/.dot/local/share/mime/packages/application-x-vassal.xml. Then do
mkdir -p ~/.local/share/applications
cp ~/Desktop/VASSAL.desktop ~/.local/share/applications/
This will put a copy (cp) of your Desktop launcher in a place where KDE Plasma will look for applications. Then do
mkdir -p ~/.local/share/icons/hicolor/scalable/mimetypes/
cp VASSAL-current/VASSAL.svg ~/.local/share/icons/hicolor/scalable/mimetypes/application-x-vassal.svg
This will set an icon for VASSAL module, log, and save files. Now do
update-desktop-database ~/.local/share/applications
update-mime-database ~/.local/share/mime
This will update the internal database used by KDE to find applications and the file associations
Running
Whether you ran the setup-vassal.sh script or did the steps by hand, you should now be able to run VASSAL on your SteamDeck in desktop mode.
Open a terminal as described above and do
vassal
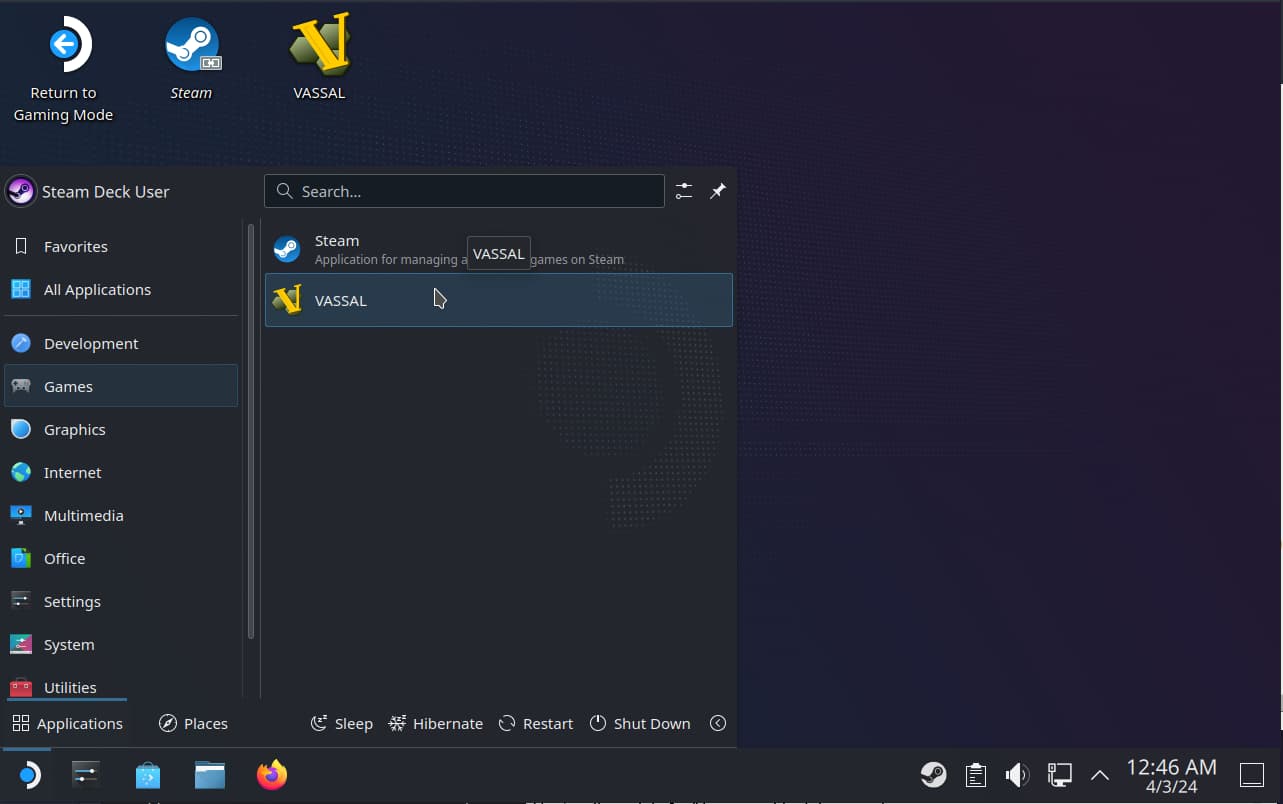
If you run the setup-vassal.sh script or installed a Desktop Icon and associated VASSAL module files with VASSAL, as described above, you can also launch VASSAL from the applications menu.
- Press the SteamOS icon (application menu) in the lower-left corner of your screen
- Select Games
- Select VASSAL
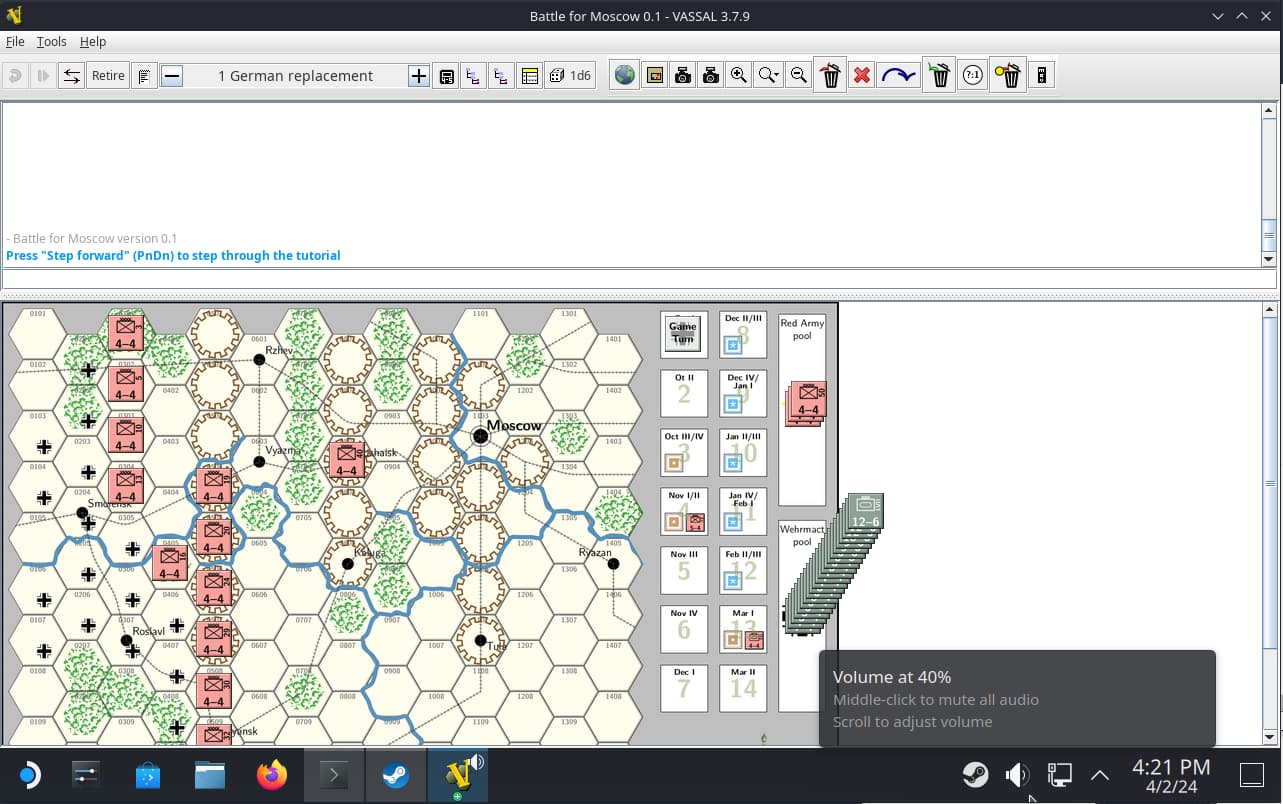
Whether you executed VASSAL from the terminal or via the application menu, you should now see the VASSAL module manager window
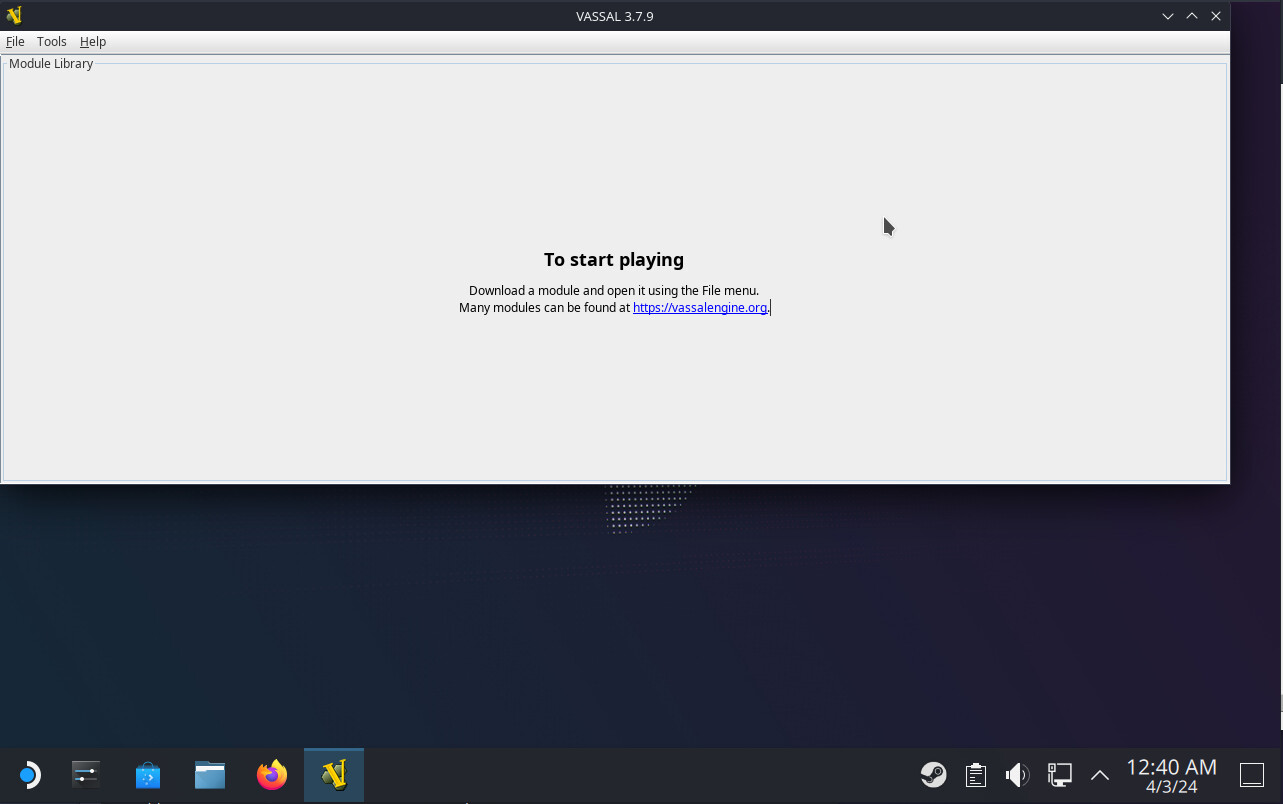
The setup-vassal.sh has already downloaded the Battle for Moscow module for you, and put it in the directory ~/VMods.
ls VMods
If you did the steps above by hand, you can obtain the same module with
mkdir -p ~/VMods
wget https://obj.vassalengine.org/images/e/e1/BattleForMoscow-ch-1.0.vmod -O VMods/BattleForMoscow-ch-1.0.vmod
In the VASSAL module manager, open this module by
- Select the File menu
- Select Open Module …
- In the file chooser dialog navigate to
VModsand selectBattleForMoscow-ch-1.0.vmod
This will open the module.
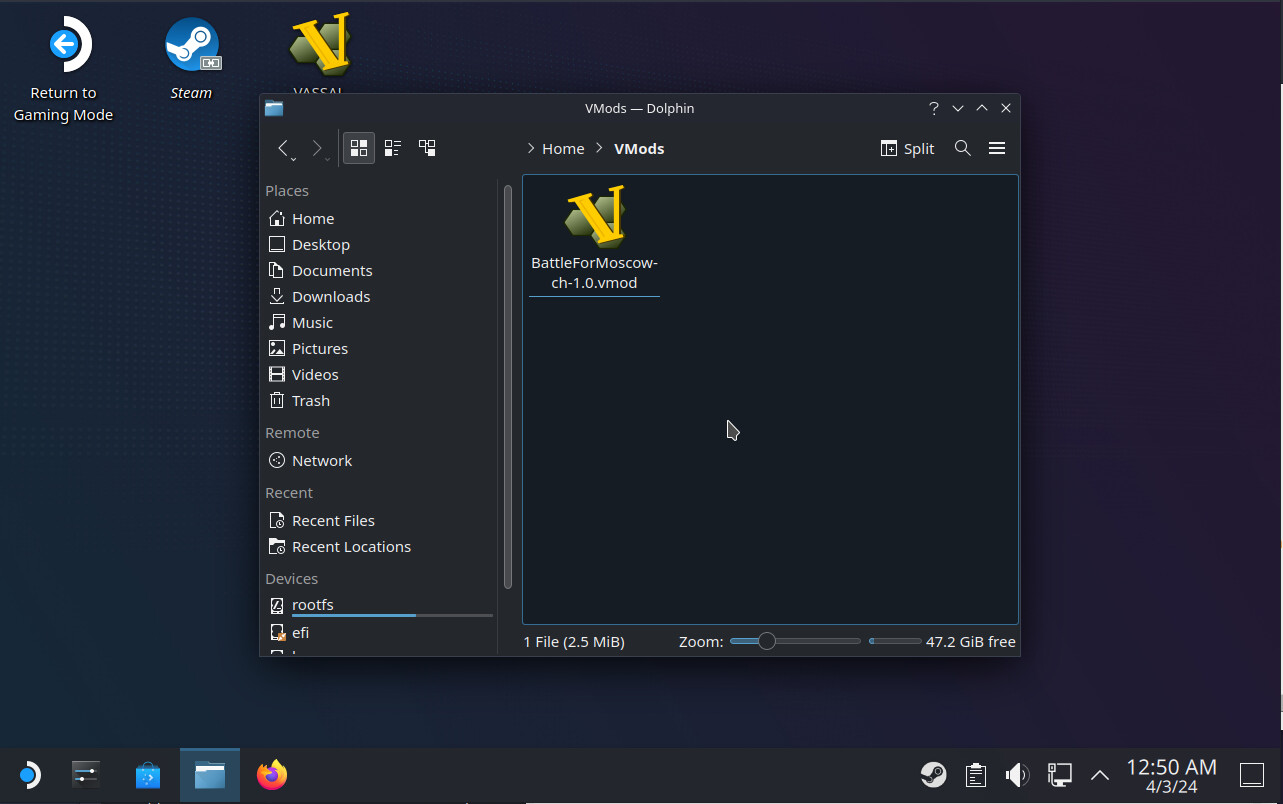
You can also double-click any .vmod, .vsav, or .vlog file on your SteamDeck (via the file manager Dolphin - folder icon in the task bar) to open the module, save file, or log, respectively.
Upgrading VASSAL
To upgrade your VASSAL installation, download the new - say 3.7.10 - archive to your device
cd
wget https://github.com/vassalengine/vassal/releases/download/VASSAL-3.7.10-linux.tar.bz2
and unpack it
tar xvjf VASSAL-3.7.10-linux.tar.bz2
Then remove the old VASSAL-current link, and recreate it to point the new installation
rm VASSAL-current
ln -s VASSAL-3.7.10 VASSAL-current
You may want to delete the downloaded archive and the old installation - say 3.7.9
rm VASSAL-3.7.10-linux.tar.bz2
rm VASSAL-3.7.9
Epilog
I hope you will find this guide useful. Note that I have not tested this on an actual SteamDeck device as I do not own such a device. However, I’ve tested the procedure on an emulated SteamDeck device.
That means that I cannot vouch for any user experience with VASSAL and the SteamDeck, such as moving pieces, invoking the context menus, and so on.
If you find any problems with this guide, please post a message in the VASSAL Technical Support & Bugs Forum. Please provide a detailed account of what you did and what went wrong. Screenshots (via the app Spectacle) can be very useful.
Enjoy.