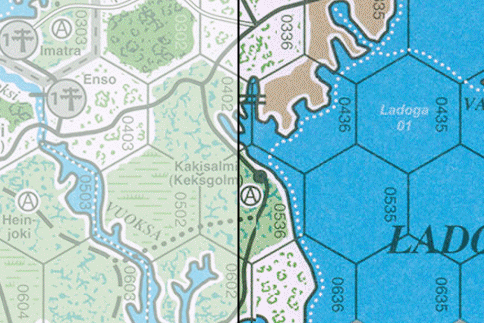
I have a typical hex map with several Map Boards. Each map board has one multi-zoned Grid, which has several zones. Each zone has a Hex Grid and Grid Numbering.
I’ve taken care to ensure that the coordinates of the zones exactly align, because I thought that overlapping zones could cause my problem.
So the problem concerns a hex that centers in one zone, but has a little of the hex overlapping into the neighboring zone. Nothing unusual about that. When I drag a piece into the hex, it centers on the hex as it should and records the correct reference.
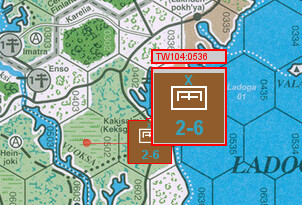
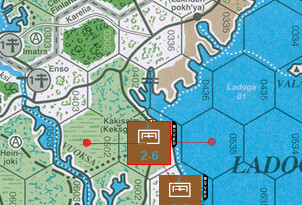
The issue is that if when I drag and drop, I carefully pick the center of a piece and drop it in the left edge of the hex. Now I pick an identical piece and similarly drag and drop the center of that piece to the right edge of the hex.
In the log file, both are in the same hex.
However, if I mouse over the stack, only one of them appears.
The only other fix I can think of is to use the “Key Command to trigger when piece is placed on this map” option to check if the piece was just dropped in the wrong half of the partial hex, and move it to the other half, if so.
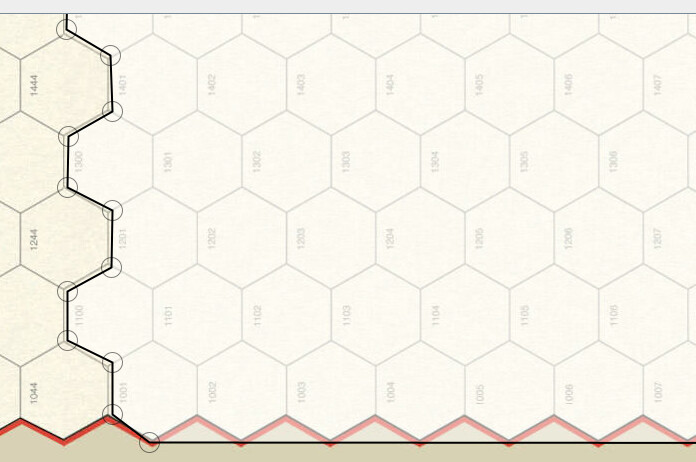
Note: The following assumes you have your hex grid locations set up to match the printed hex numbers!
For the example from your first image above, a Trigger Action which checks if the Zone matches the left side, and the hex column is odd (e.g., LocationName / 100 % 2 == 1), and the hex row is “01” (e.g., LocationName % 100 == 1), then triggers a Send to Location to the right Zone, LocationName equal to same hex column (LocationName / 100 * 100; integer math will cause that to drop the last two digits, setting them to “00”) + hex row 36 (e.g., LocationName / 100 * 100 + 36).
For the even hex rows, you would want to check for the right-hand zone, row 37, and move to the left-hand zone, row 02.
Up to you if this is any easier than drawing your zone edges along the hex edges, instead!
My suggestion is to do the tedious part. I have to do it on most of the hex maps that I work with for the Great Battles of History series. There are some shortcuts, that make it about a twenty-minute job, even for a large map. Once you complete it, you will be happy you did. So will your counters.
Shortcuts:
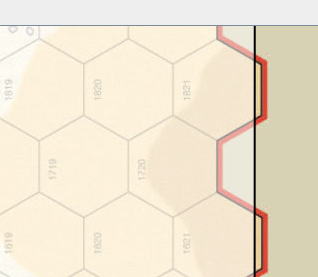
Create a strait ln as you have in the example Just right click on the hex corners as you go along.
Note that the new point will connect from the closest available line so there is some line management you have to be aware of as you connect the dots along the hex line.
For map edges (where the hexes end,you can do a straight line on the points as below
In the examples I show, I had to join two maps together as in the physical game, but of course, the hex numbers don’t align so I had to come up with my own solution for the hex numbers.
I’ve been experimenting with this issue a lot over the last few days.
Try as I do, I can’t get the problem to replicate for the vertical border between boards. That seems to be properly coded for pieces to find the correct hex centers.
When there is a “technically” similar vertical join between zones, the pieces drop into left zone and right zone stacks, which don’t automatically combine.
I’m suspecting the coding for zones is lacking the steps that solve the issue between boards.
Daniel