Where can I find good WW2 counters silhouette?
I want to make good looking counters with silhouette. I can’t find a quality silhouette that I can cut down to the required size (very small size) and they still look good.
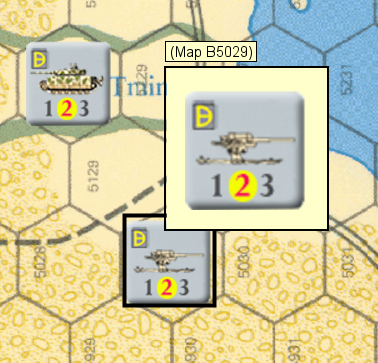
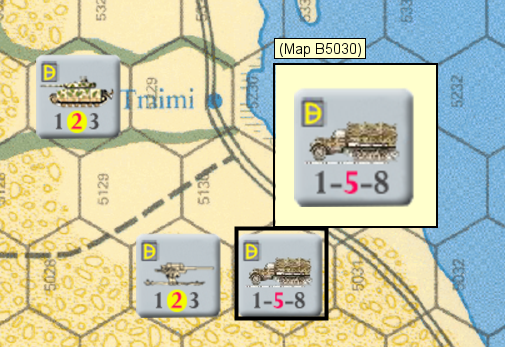
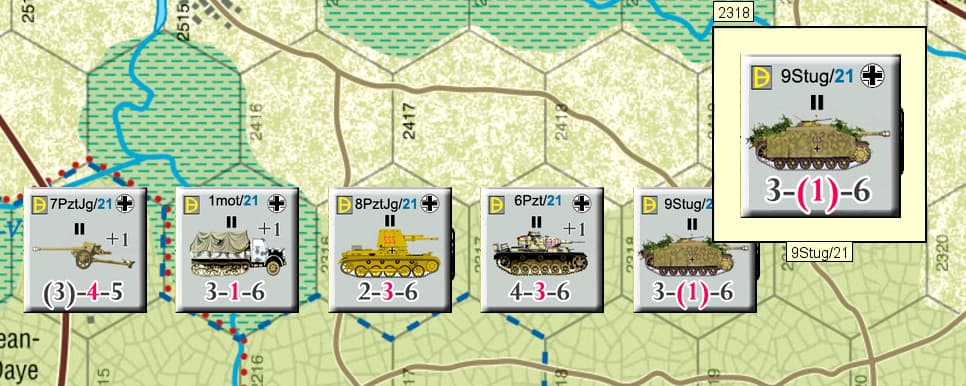
The first two pictures are with indistinct silhouettes. That it what I have now.
In the third picture, the silhouette is much better and more pronounced, despite the fact that the counter is small (around 1cm x 1cm). That’s what I want!!!
I want good looking and clearly visible silhouettes on my counters. I’m currently using silhouettes from this site, but when I reduce them to a size of 1cm x 1cm they become indistinct: https://www.pinterest.com/pin/1101341283849330131/#imgViewer
… and I also want the counter to be even better when I use the Mouse-over Stack Viewer feature (as in the third picture).
My advice, get over it. The smaller you go the less resolution you get. You want small, you get fuzzy images. Try to scale up your maps and images. You can always use the zoom in/out for players to present counters. Be aware though, larger/higher definition counters make your game module bigger. One of my modules is up to around 850MB (not counters but maps used )
Good advice, thnx man.
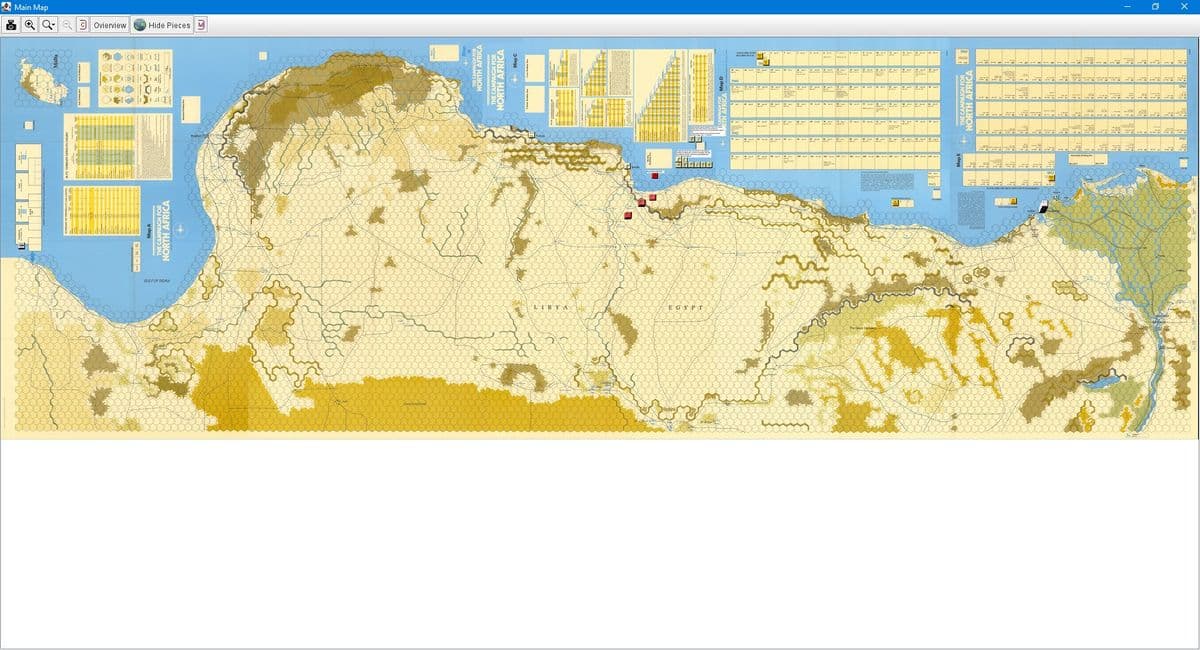
I am new to Vassal mod editor. I’m just at the beginning and I’m still learning how and what. Basically I want to have a map as big as possible, let’s say North Africa map wit max resolution.
I am currently using the map from “The Campaign for North Africa” but not enough resolution.
The second thing I want is to make good looking counters with silhouette.
Please help me if you can.
I think what you want for the silhouettes is greater resolution. For that you need images with more pixels which generally means a larger image since image size in Vassal is generally dependent on number of pixels. For pieces you can get around this by using the Additional scaling factor for draw in the Layer trait VASSAL Reference Manual. So If you use images (png files) like around three times bigger than what renders in the 1 cm square area and display it with the Layer trait rather than the Basic piece, and use an Additional scaling factor of about 0.33, you’ll get a sharper image (that is if, of course, the larger image is sharper to begin with).
However, for the map, I don’t know of a similar trick.
Can you get the map(s) you want rescanned using a higher resolution? An alternative is to use a high res camera and take pictures, save them as pngs and then use GIMP to stitch them together/crop/whatever.
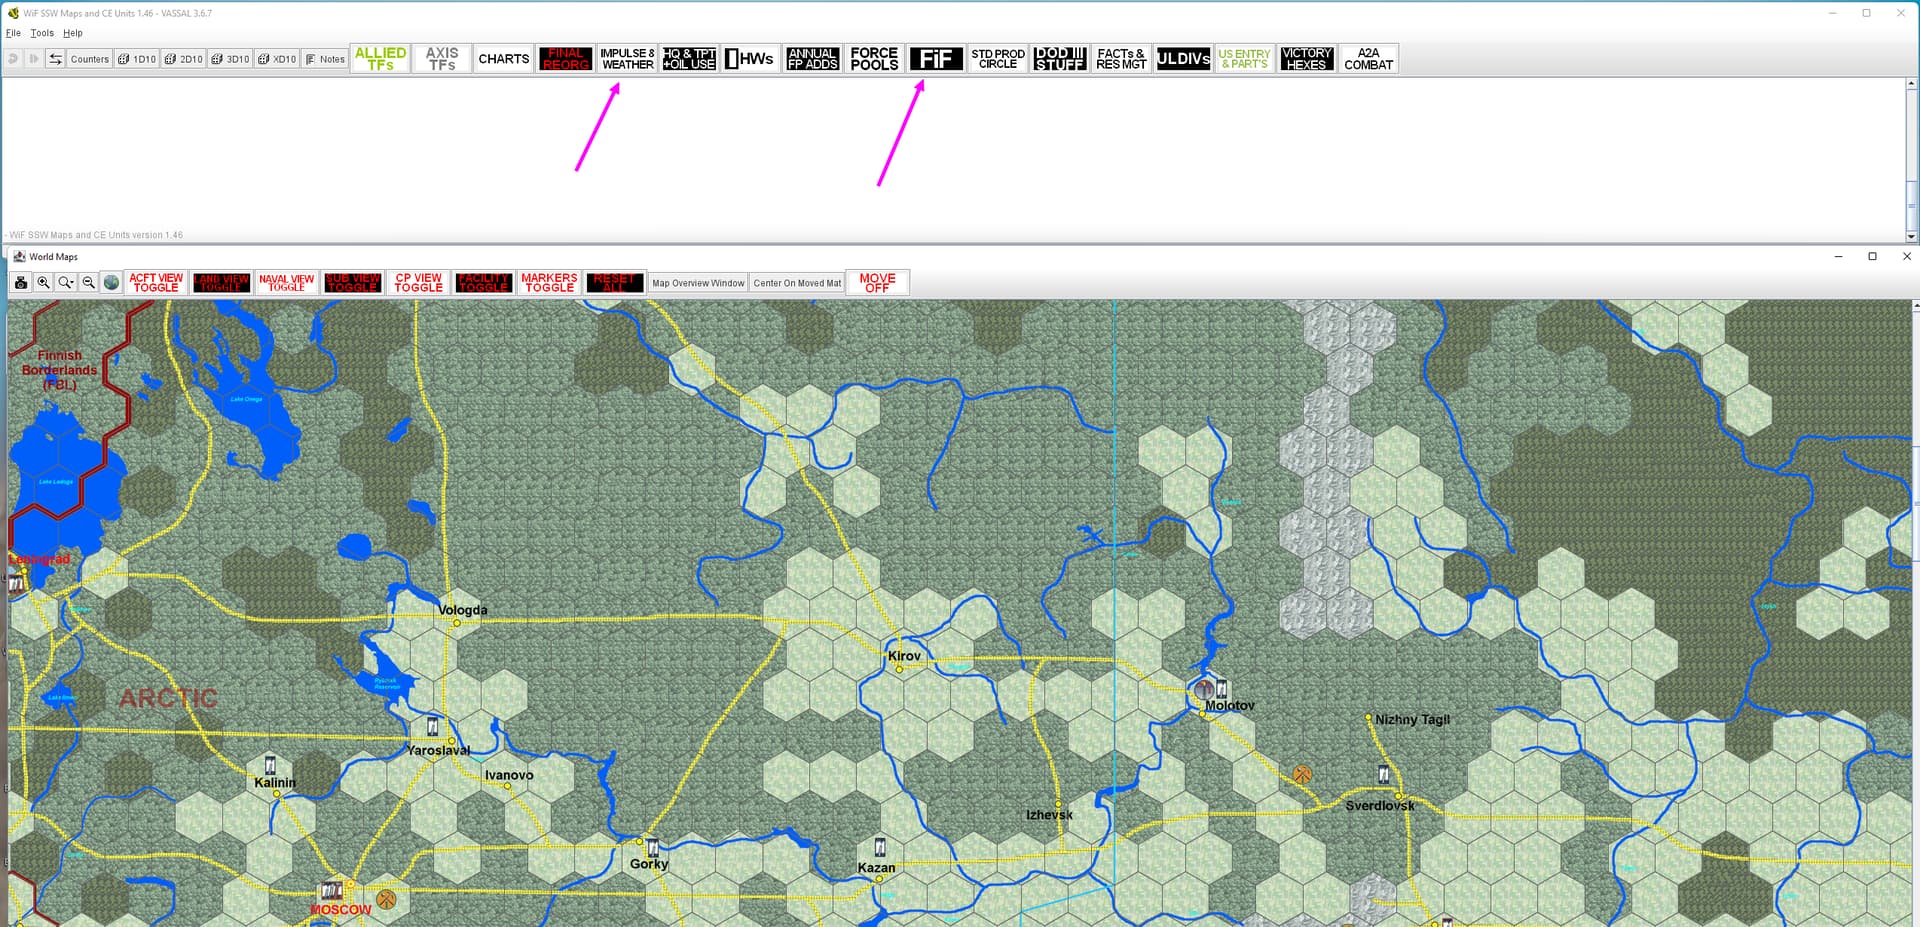
Another possible is to create your own maps, using what you already have as a guide. All those boxes, rules, etc sitting in the MED can be ‘moved’ off the map as separate ‘maps’ accessible using TABs (see attached pic). You could even use a portion of the NASA blue marble pictures (which what I used to generate the map you see in the bottom area of the pic). There are 2 types, the early version at 1 pixel = 1 sqkm and a later version at 1 pixel = 500m2. Means some work though, so perhaps try the camera option first.
Idea about Additional scaling factor of 0.33 is great !!!
The silhouettes are much better on this way. Thnx man.
Does anyone know how to make maps? What tools do they use?
Let’s say…, I would like to extend the Normandy44 map to the Paris and onward.
I like the style/resolution of the Normandy 44 map, I want to expand it. Is there a tool for this?
I’m pretty sure most map artists use Adobe Illustrator/InDesign or some other professional-tier graphics software. You’ll likely find better assistance wherever those graphic design or game-specific art communities of interest are located.
Inkscape https://inkscape.org/ is scalable vector graphics software that has functionality similar Adobe Illustrator. Inkscape can be downloaded at no cost, and users are welcome to make donations.
I use Inkscape for almost all the graphics efforts I do, and I think it would work as well as Illustrator for making maps.
To piggy-back on this, the scanning resolution has a big impact on clarity, especially when you zoom in. I tried scanning counters at both 300 dpi and 600dpi and the 300dpi were fuzzy, while the 600dpi were crisp. My takeaway is to never use less than 600dpi resolution. Of course the flip side is that higher resolutions generate bigger file sizes. So for a map, I probably wouldn’t use more than 600 dpi.
If you want ultimate clarity on your counters (especially when zoomed in), use 1200 dpi.
Also, make sure you use “.png” (lossless compression) and NOT “.jpg” (lossy compression)
Agree, always use png. But 1 way to save many bytes file size is do all your stuff at 600 dpi, 32 bit colour. Then, generate your maps and counter files using the 256 colour maps. This save a lot of file space.
Starting with the original images that are still crisp, convent them to a super high pixels/inch or mm resolution, then also convert them to 32bit depth to help preserve as much info as possible. Once you have the art in this format, save and use as a future base for all modifications. If using GIMP you can check image info under IMAGE then image properties way down the list. The original stuff will probably be in 8bit. Now that your stuff is in 32bit with a high pixel depth you can begin your scaling down process. For interpolation setting I’d use NoHolo. It’s a modern algorithm that is better than Cubic and the lik. When scaling down use multiples of dividing by 2. Like if its 1000x1000 pixels go to 500x500 and so on. If you went from 1000 to say 300 you introduce a lot of smudging because its way harder to average out the pixel look doing odd scaling rates like that. So stick with /2 until you are ballpark size. Then you can do your final scaling at whatever is needed. But of course that final scaling will introduce some blur but it can’t be helped. You can only minimize it by doing that last. The more times you use interpolation the more blur you get in the final product. So for instance, you may find you get better results if you wanted say to go from 1000 to 250 by just doing a /4 instead of a /2 twice. because you completely skip the 500 size that way. In some instances, you’d see no difference. Depends on source pic. So if you finally get a decently clear image at the size you want you can then do a final conversion back to 8bit and say 300pixels/inch so its now in the kb size range.