I’m working through Joel T’s module design videos, and having a blast. I’m currently trying to use prototypes. I need one prototype to have 2 sides, so I add the layer trait to the prototype definition. I also need a separate image for each of these pieces. Specifically, I’m creating three air force counters which each have a full strength and a reduced side. Each of the three has a separate image for both sides. So when I add a single piece and then add the prototype trait, I can’t figure out how to get the second layer image there.
In case this helps, for each prototype I have the following traits:
Layer (with two levels creadted, Full and Reduced
Mark when moved
When I then add a single unit:
Basic Piece (named for the specific air force and the full strength image)
Prototype Trait
The piece appears and can be added to the map, with the correct full strength image. But I can’t figure out a way to get the second layer connected to an image.
I tried selecting specific images in the prototype layer definition, but that didn’t result in an image being displayed.
Let me understand what you are trying to accomplish.
Either
Each piece has it’s own base image
The prototype defines a “flipped” image which will replace or be displayed over the base image
or
Each piece has two images - a base and and a “flipped” image, both fully shown
If you want the latter, then the LayerTrait need to be in the piece it self - not in the prototype.
Pieces cannot modify a prototype (at least not non-state parameters - if pieces could, then that would affect all pieces with the affected prototype).
If you want the former, you can either say the LayerTrait should not be active all the time, or simply add a layer with no specified image. Note, the “flip” side will be the same for all pieces.
Agreed, I intended to reply earlier but got called away. Putting a Layer trait in a Prototype is fundamentally at odds with the goal of having 3 pieces that are all meant to have different front/back images from each other.
New names: "", "Reduced +" (latter prefix "Reduced " on to basic name Spitfire)
Increment key: takeStepLoss
Decrement key: recoverStepLoss
PrototypeTrait
Name: "Airplane"
and similar for Messerschmidt, Stuka, Hurricane, and so on.
In this way, you define the common behaviour in the prototype Airplane (step loss and recover), and the individual pieces customise that behaviour.
Note, a prototype can reference parts of a piece (takeStepLoss and recoverStepLoss above), and pieces can reference parts of a prototype. If a prototype type references a non-existent part of a piece, then that - most of the time - just means that it has no effet - other times it makes the module fail.
But layers can also be used to modify a piece. For example, we could modify our prototype above to be
BasicTrait - no name or image (prototypes all have BasicTrait even if not visible in the editor)
MovedTrait
TriggerTrait
Command: Step loss
Key: Ctrl-S
Actions: takeStepLoss
TriggerTrait
Command: Recover
Key: Ctrl-R
Actions: recoverStepLoss
LayerTrait:
Images: "", "Out-of-ammo.png"
NewNames: "", "+, out of ammo" (postfix ", out of ammo" to piece name when out of ammo - + is placeholder for piece name)
Follow: true
Expression: {Ammo<=0 ? 2 : 1} (2 when Ammo os zero or less, triggering drawing in the second image, otherwise the first - non-specified - image is drawn).
DynamicPropertyTrait
Action:
Key: Cltr-A
Command: Re-stock ammo
Type: Direct
Expression: {MaxAmmo}
Action:
Key: Ctrl-Space
Command: Use ammo
Type: Increment
Expression: {-1}
New names: "", "Reduced +" (latter prefix "Reduced " on to basic name Spitfire)
Increment key: takeStepLoss
Decrement key: recoverStepLoss
PrototypeTrait
Name: "Airplane"
MarkTrait
Name: MaxAmmo
Value: 10
Now, when your Hurricane has used 10 ammo, the prototype will see that and display the image Out-of-ammo.png over the current image of the Hurricane. When the ammo is loaded, then the prototype automatically fills up to MaxAmmo. MaxAmmo can be different for different planes (e.g., Stuka could have MaxAmmo=20).
Hope that clarifies a bit what you can do with layers and prototypes.
That answer from Joel seems to tell the story. I believe that you mean that I can’t use a layer trait in a prototype unless all of the pieces from that prototype have the same image? That’s helpful, thank you.
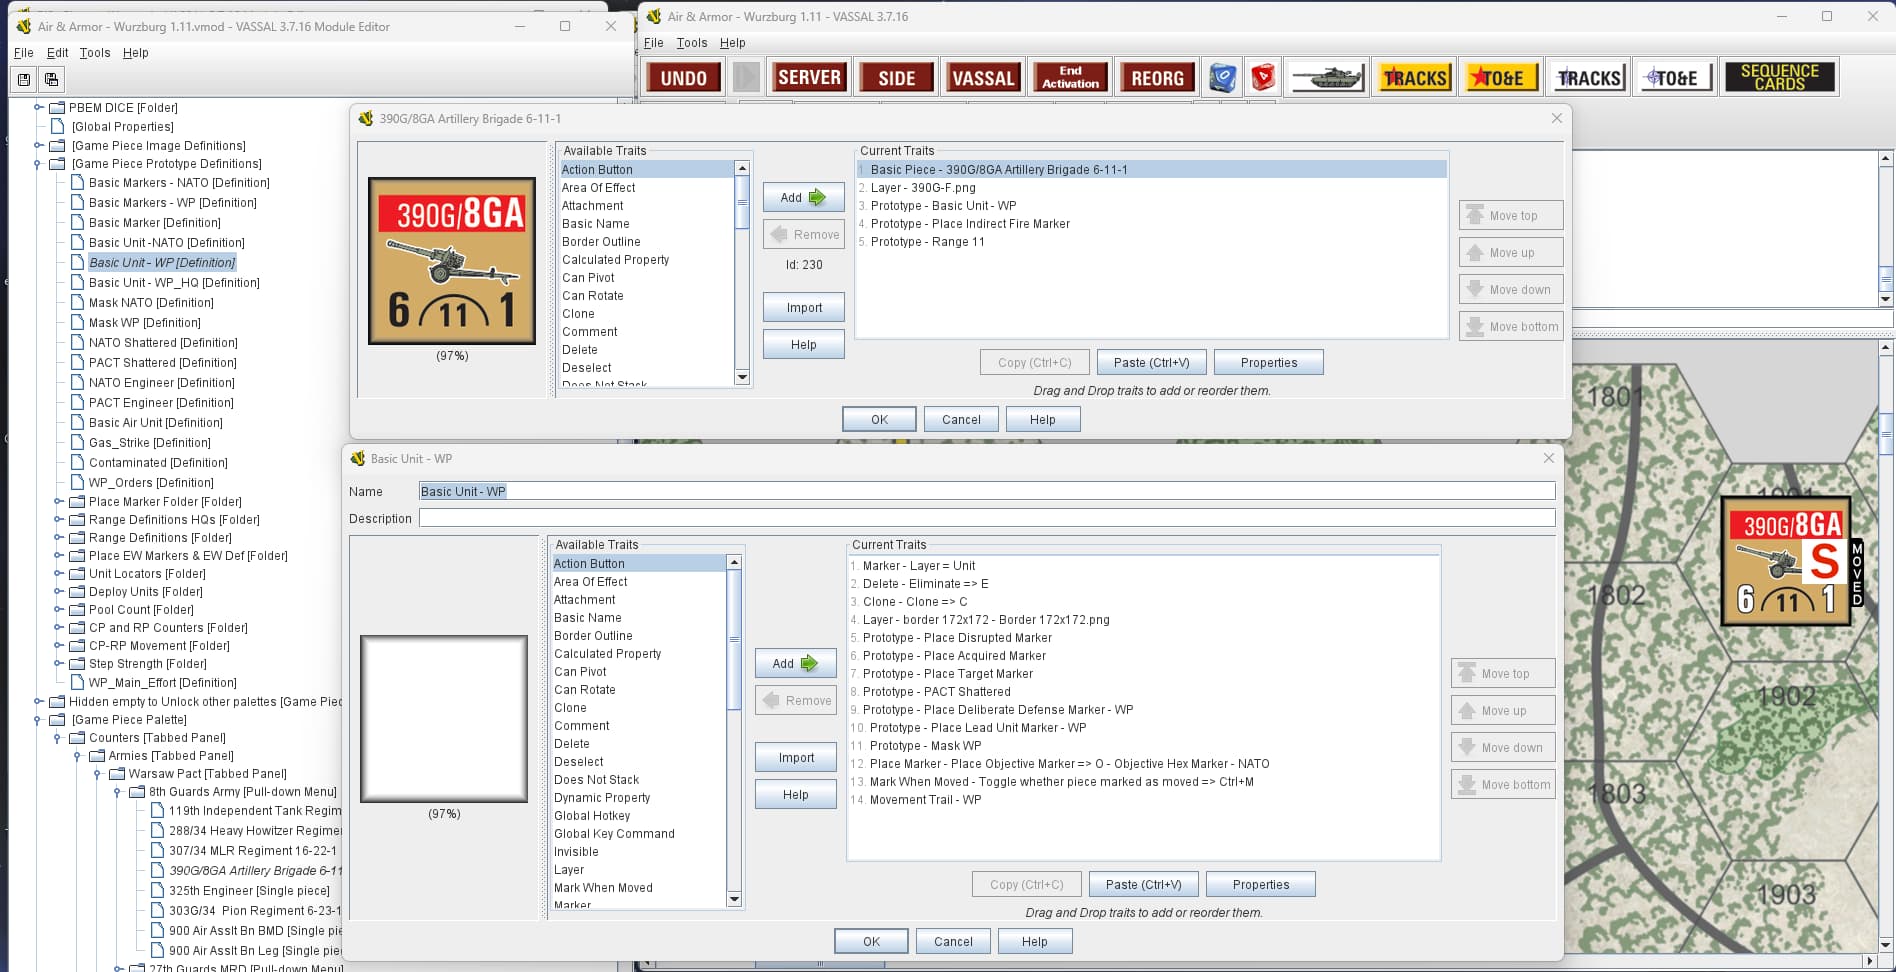
Look at an artillery piece it can place markers on top of it. It can flip (layer) to show it moved. It has another layer to show if it is “shattered”
Specifically the 390G/8GA has 10 Prototypes (and that is just the ones not inside another prototype)
You do have to remember that every layer that is visible is drawn sequentially/ Don’t mask on layer with another.
In the same module I use ‘Trigger action’ to set a dynamic property (A_Att_P) that has a ‘Layer’ driven off it.
It shows wither the aircraft is coming high or low and close or stand-off.
There is also AoE_R that changes the Area-of-Effect showing the attack range in each profile.
One more comment on the Air & Armor module (and my modules in general). I sometimes go overboard with prototypes. But this was specifically made from the beginning of game design to release. I expected to have to make numerous changes (over 190 versions by game module release). So I try to make my modules future change friendly, and modular. So if possible very little information is on each counter as much as possible is on prototypes.
I try to use layers with a small graphic that goes on top of the base counter, then I can change the (say ‘shatter’ prototype a Red S in a white square) to effect every counter that can shatter.
Thank you cholmcc and Jardic for such thorough responses. There is a treasure trove of information here that answers questions I haven’t even thought to ask yet. I really appreciate you taking the time to shed light on this for me.
I’ve gone even more overboard. In Empire of the Sun, each counter is built as series of layers. Background + individual symbols + strength numbers, etc. Only the ID or Name of a counter is on the counter itself.
“Been there done that” I have made a bunch of modules for designers to playtest their games. It saves me a lot of work if they can change the counter values on the fly. Or completely build a counter from scratch.
I have also used vassal to “build” units then take a screen shot at 100% to create counters.
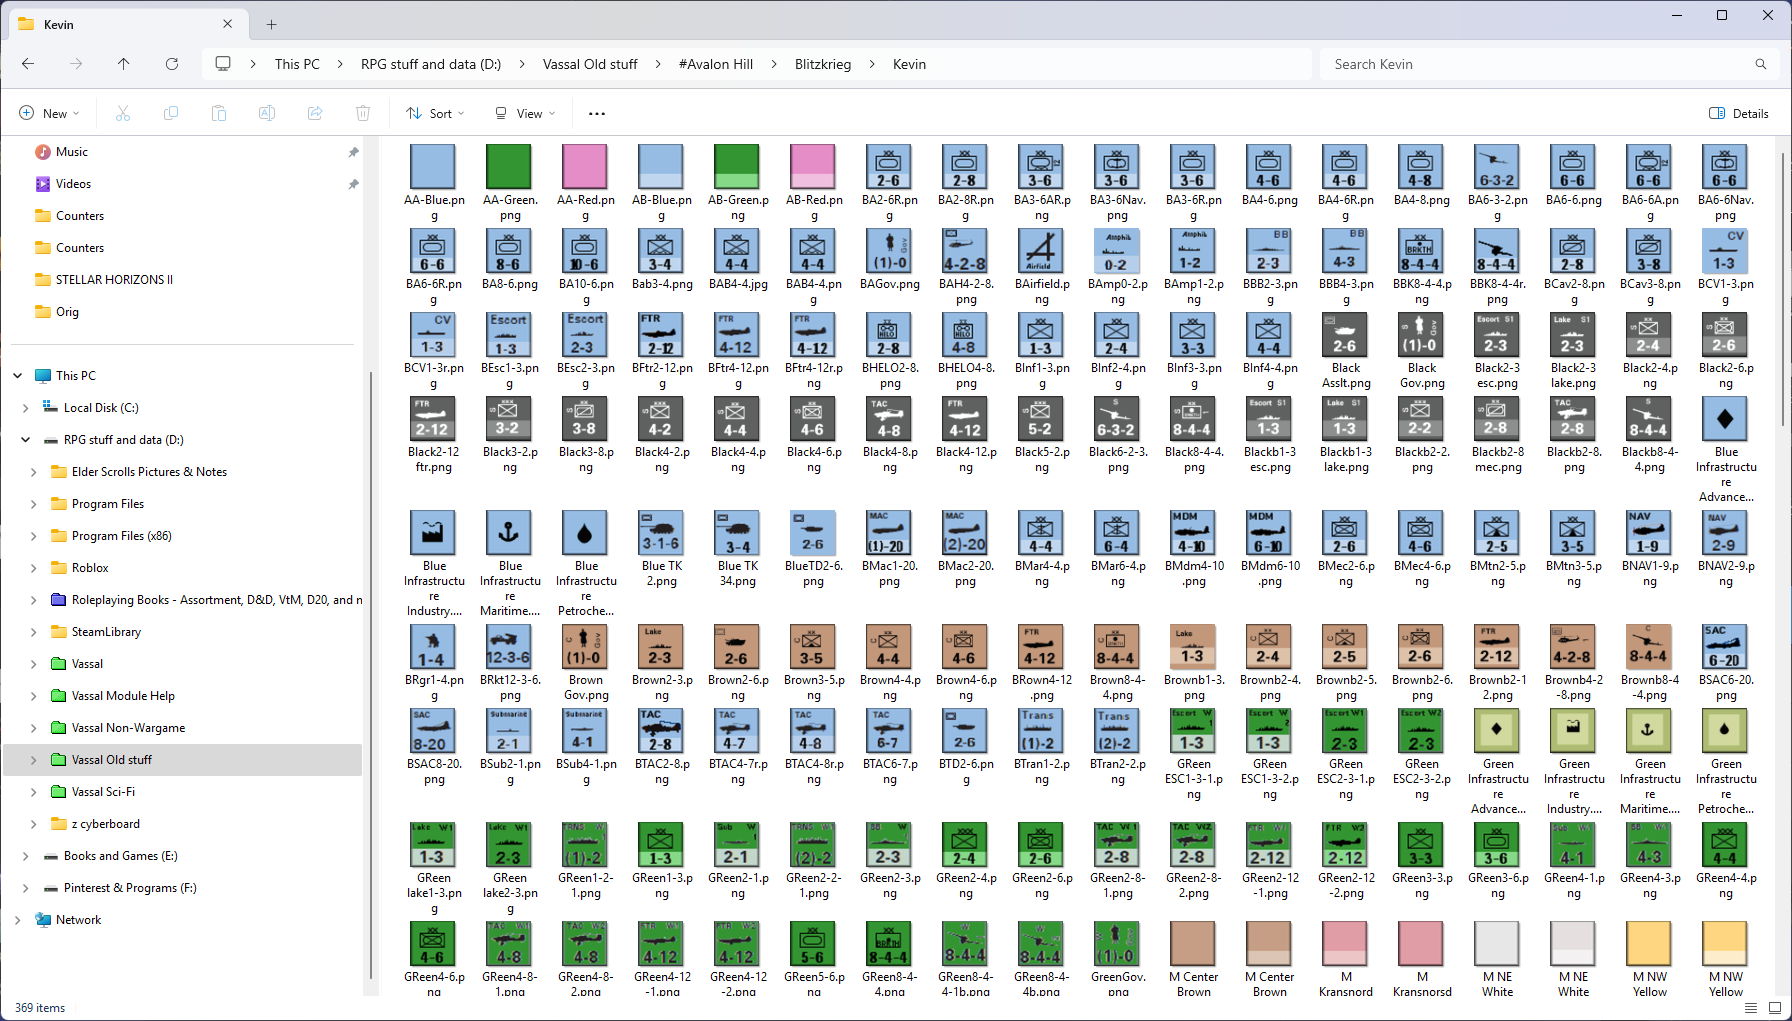
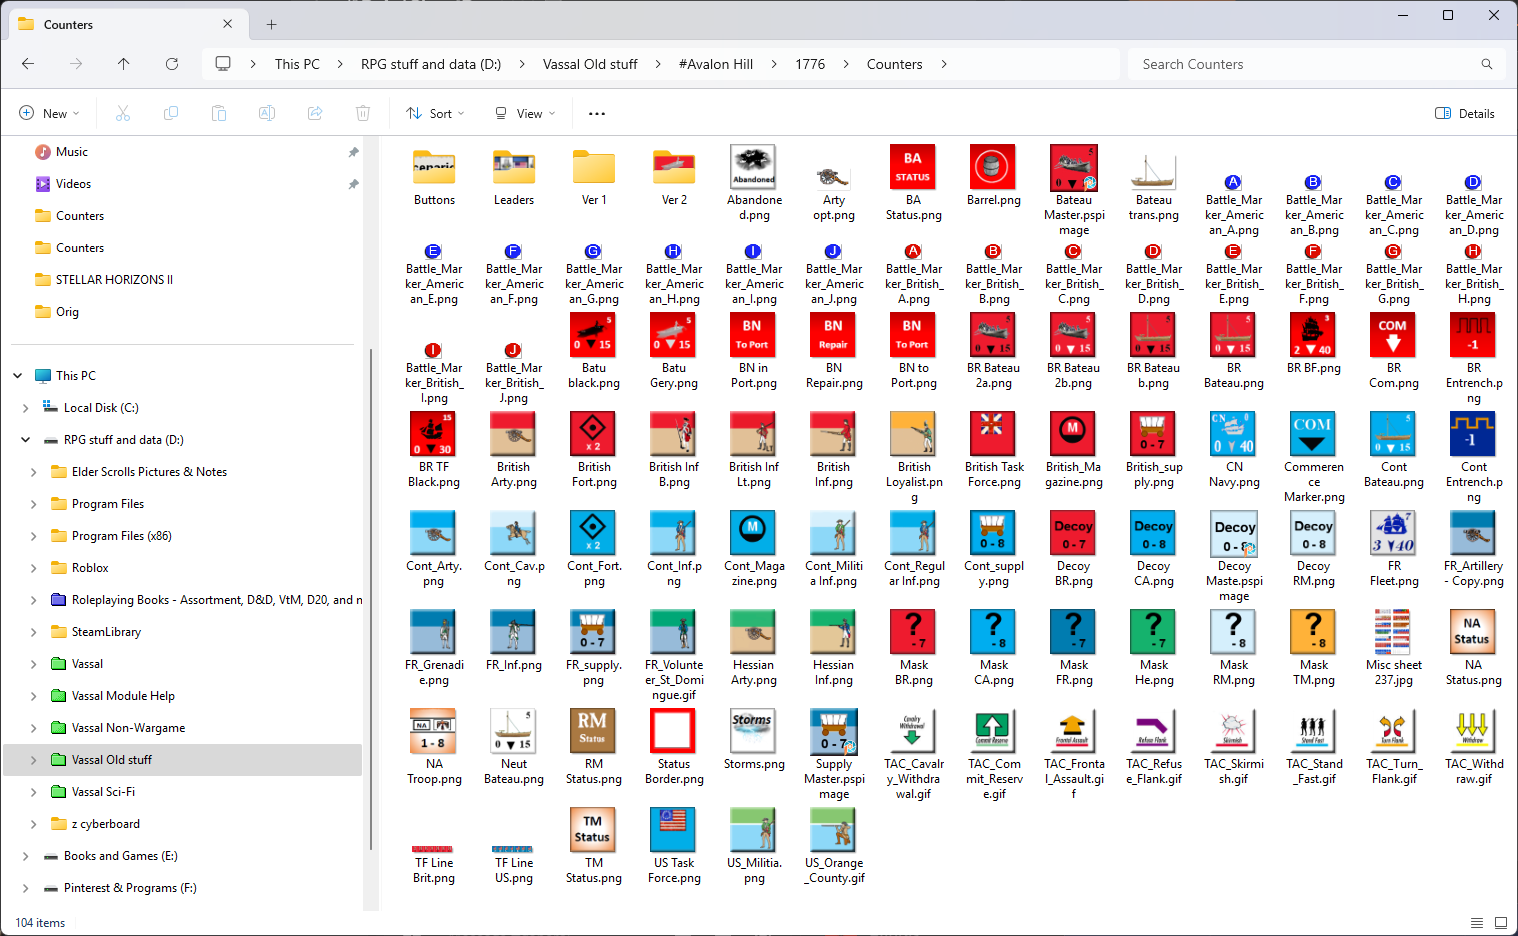
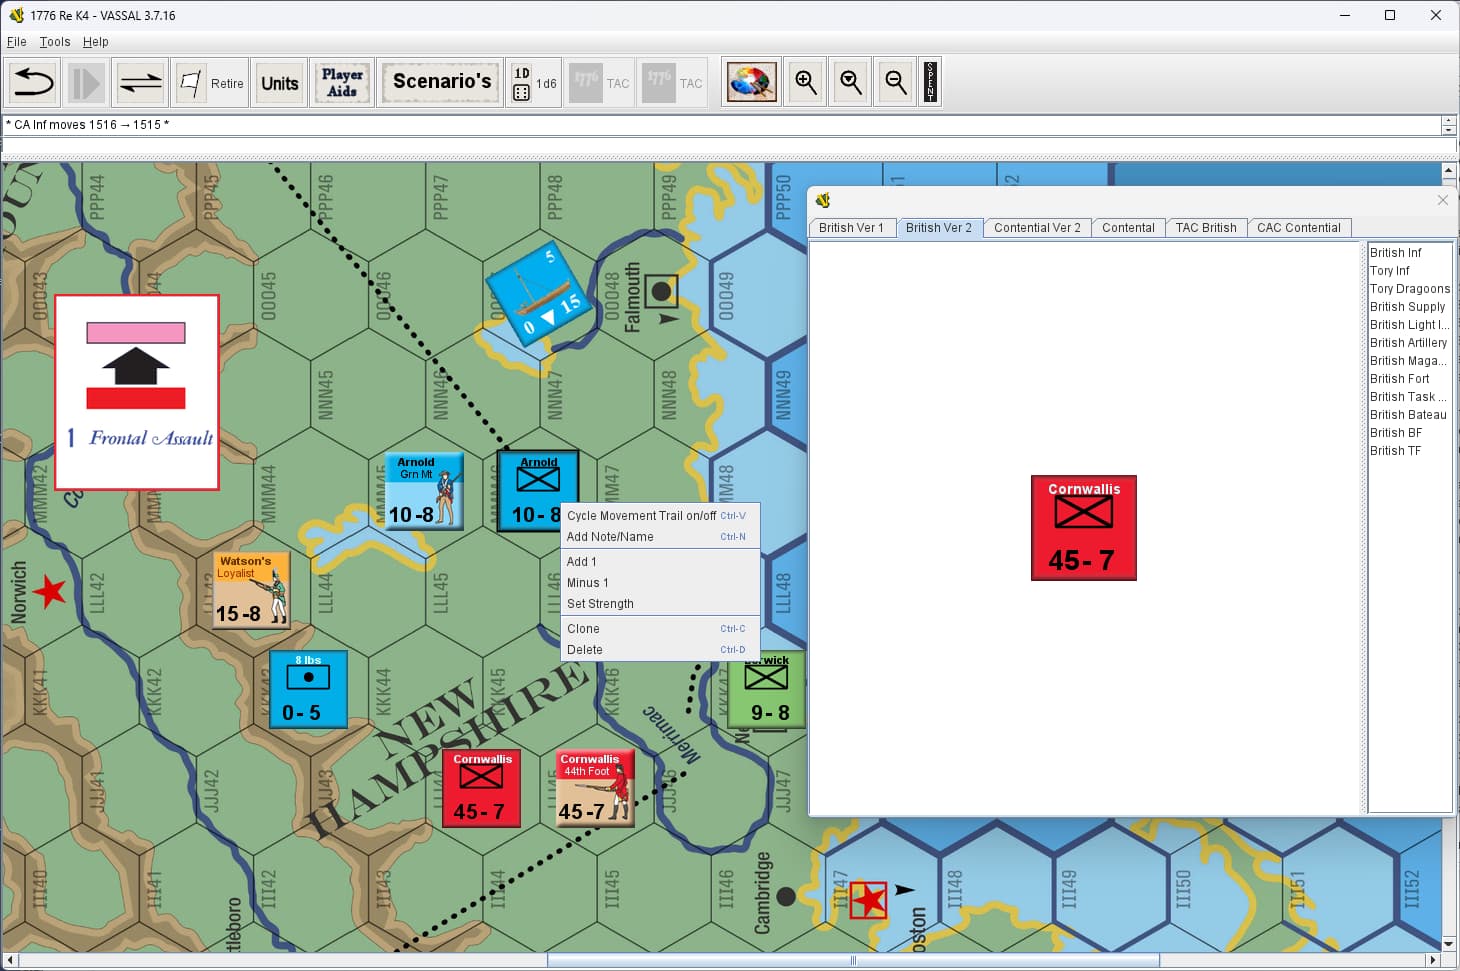
Here is a folder from when I was toying with AH’s Blitzkrieg (yet another of my unfinished projects).
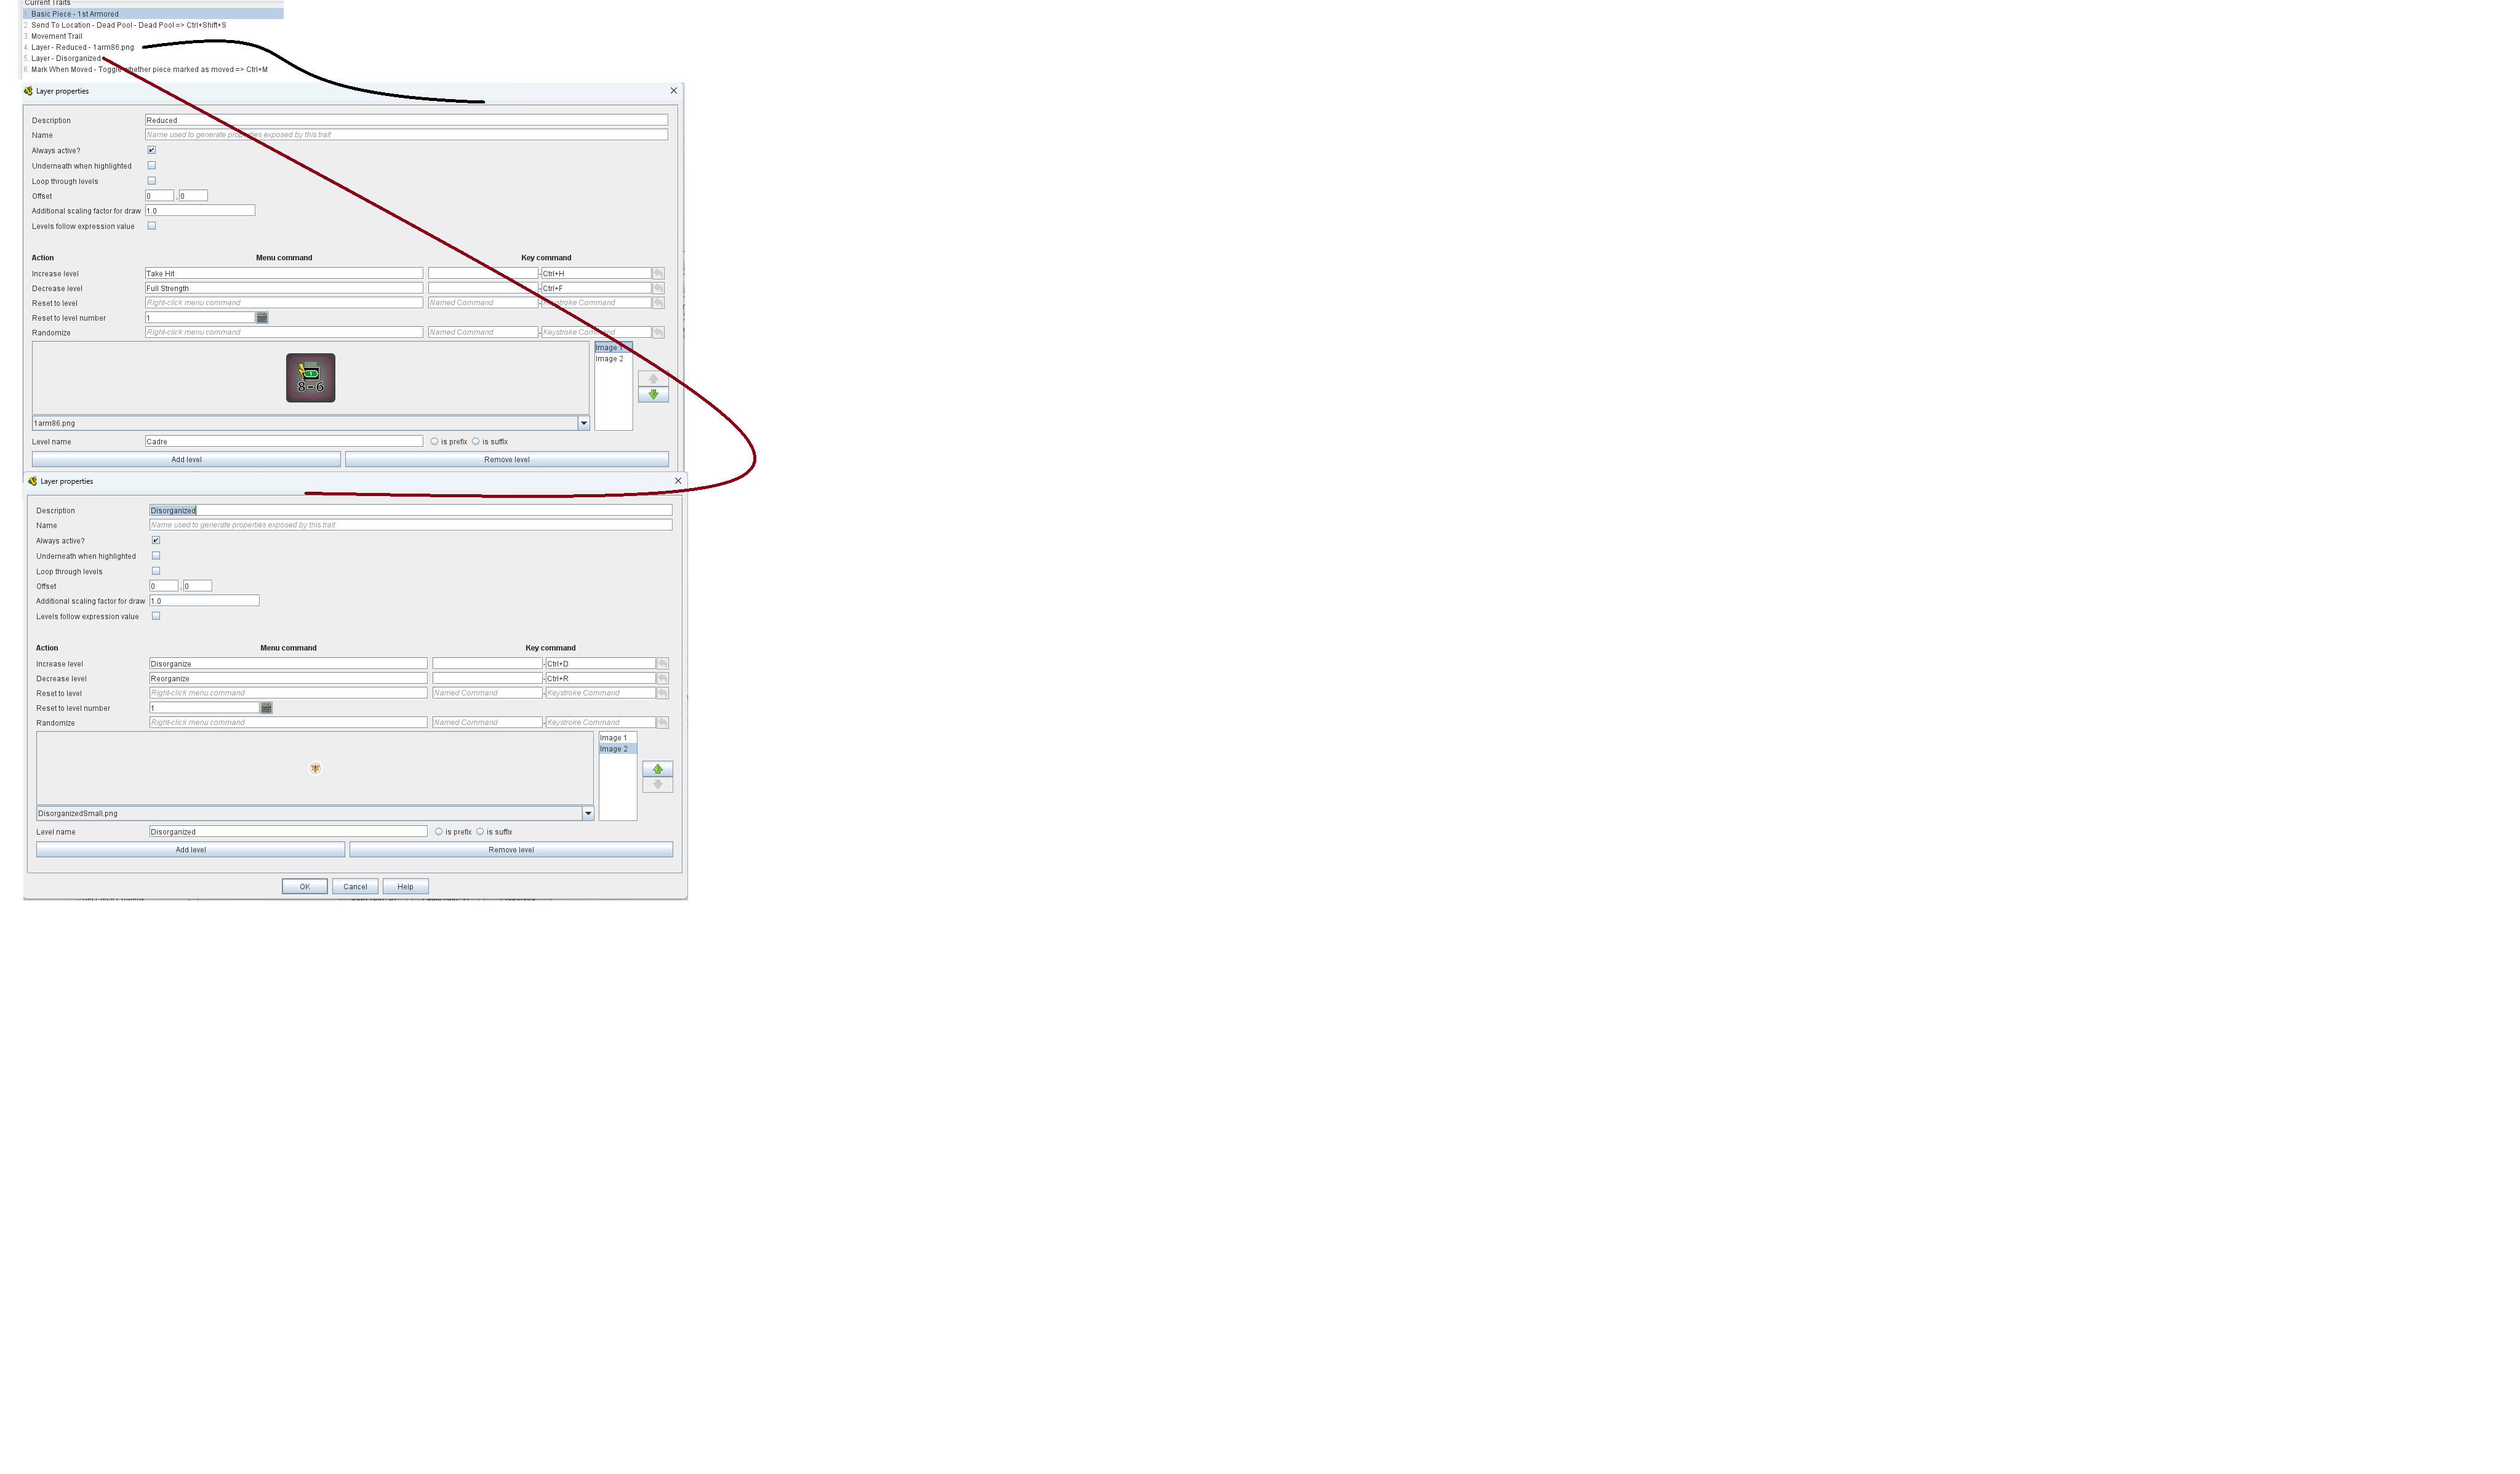
OK, I mucked around with prototypes for this based on the examples, and couldn’t get this to work. So I made a unit with layers that does all of the things I need it to do. This picture shows the relevant aspects of the units, I think. I then copies and pasted and just changed the name and the images, which I’d have had to do anyway. For future reference, I’d like to know if I could have done any of these layers and/or traits as part of a prototype, and if so how? It’s not important for this module, but it might later.
I made a small (almost) proof-of-concept, where pieces are mainly defined in terms of MarkTraits and some generic prototypes. See here for more. An example module can be found here.
In the example above, I use my pywargame Python API, but the snippets and etc. can easily be used without it. Also, the code could probably be generalised so that users would provide a simple input file (e.g., a spreadsheet) and the code would build the draft module.
My own approach is to define counters, boards, etc. in LaTeX which is then automatically converted to a draft module, and then I patch that up using Python. It makes most tasks relatively trivial, and I can focus on implementing features (again using Python).
It’s not clear to me what you experienced that led you to conclude you “couldn’t get this to work”, but as a general comment, each of the images you show here lack an entry for the Name of the Layer–the part where it the hint text in the box says Name used to generate properties exposed by this trait.
When you have multiple Layer traits on a piece, you really want each one to have a distinct Name in case you ever need to reference those exposed properties, described at the very bottom of the Layer documentation. Even if you have no plan to leverage these properties in your current project, it’s a very good habit to simply never leave this Name box blank when configuring a Layer trait.