N.B.: This post is long, but mainly because the steps are thoroughly explained. The process is not all that long.
N.B.: Check if you need to re-run the setup to fix bugs here.
Background
A bit of background first.
- Android is an operating system built on top of the Linux kernel.
- Android apps are typically written in the Java programming language and executed in Android Run-Time environment (ART).
- This Android-specific run-time environment is not a real Java Runtime Environment (JRE), and regular Java apps, in particular Graphical User Interface (GUI) Java apps cannot be executed by ART.
- VASSAL is a Java application, and uses the Java GUI services.
- The VASSAL app is executed in a Java Run-time Environment (JRE).
- Java apps do not run directly on the metal, but are run through the JRE abstraction layer. This means a Java app, once build, can run on any system that can run the JRE.
- VASSAL requires a true JRE, and the ART is not a real JRE, and VASSAL can therefore not be run directly on Android.
Thus, to run VASSAL on an Android device, we need to get a true JRE onto the device.
We will do that via the very powerful app Termux. Remember, Android runs on a Linux kernel, and we can therefore set up an environment which uses the Linux kernel and run regular Linux user-land applications and services there.
To get a Graphical User Interface (GUI), we need a few more things. The GUI back-end of Linux is X (nothing to do with what was known as Twitter, even though that service has appropriate the X name and logo). Android does not provide the X service, but we can set that service up in our Termux environment. But that is only half the story. We also need to have an X client that can actually show the GUI to us, and allow us to interact with the applications running on the server. Fortunately for us, X implementations speak the Virtual Network Computing (VNC) language, and we can thus use any of the available VNC apps available for regular Android.
With these considerations clear, we can go onto the practical steps needed to get VASSAL running on an Android device.
Using native X11
The good developers over at Termux have made the Termux:X11 app which seems to solve some inconveniences with the solution used here, while at the same time providing better performance. If you want to give that solution a try, stop reading and go here.
At some point in the future, we may rely on that app for running VASSAL on Android.
Installation
Needed Apps
For your set-up you need the following Android apps
- VASSAL (obviously) for Linux
- A VASSAL module to test things out.
- Termux
- A VNC client. I chose RealVNC, but any other VNC client should do.
Below we will go through the steps of setting these up.
Important
Command listed below must be typed into Termux exactly as written. Case matters, as in downloads and Downloads are not the same thing. For example, if the instructions tells you to write
pkg update
pkg upgrade
then two commands should be entered exactly as written above at the command prompt. That is first, type p k g [space] u p d a t e [enter] and then p k g [space] u p g r a d e [enter].
If you are reading this on your Android device, you can highlight the commands and copy them to your clipboard. In Termux you can then long-press anywhere and select Paste to paste in the command into the commmand prompt.
Install Termux
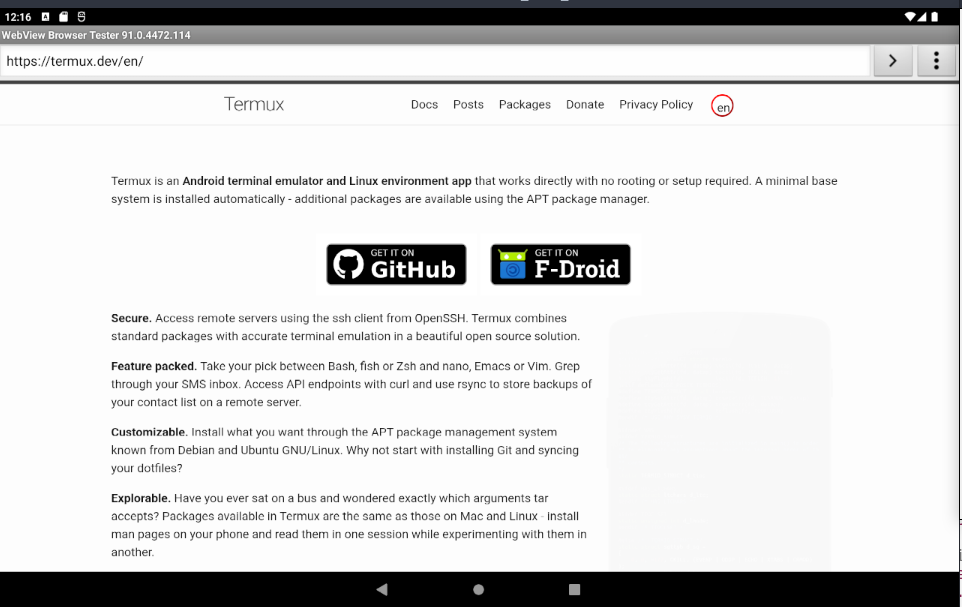
Follow the installation instructions on the Termux web-site.
Note There is a Termux app in the Google Play store - do not use that. Currently (2024 and for the past 3+ years), that app is not kept up to date.
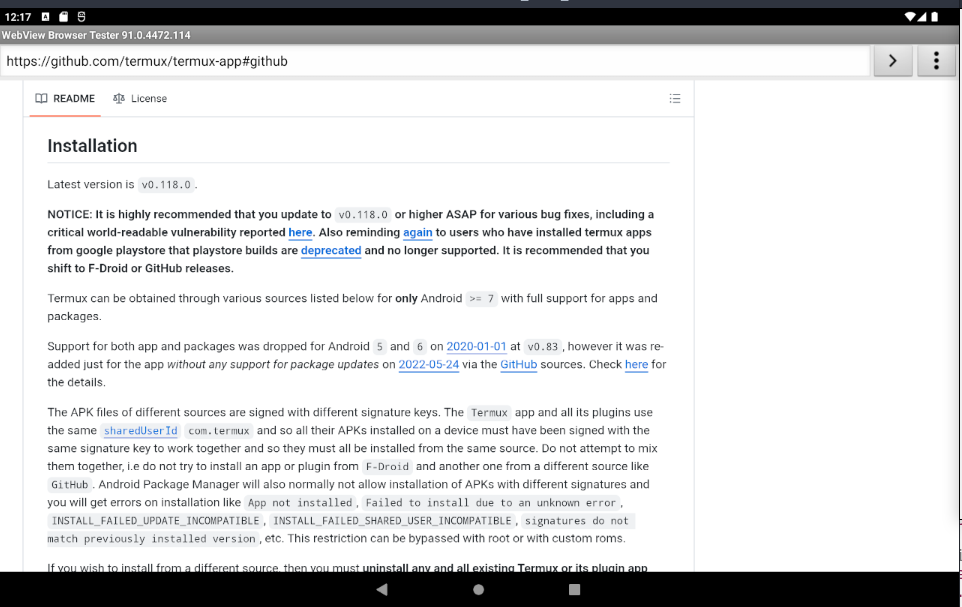
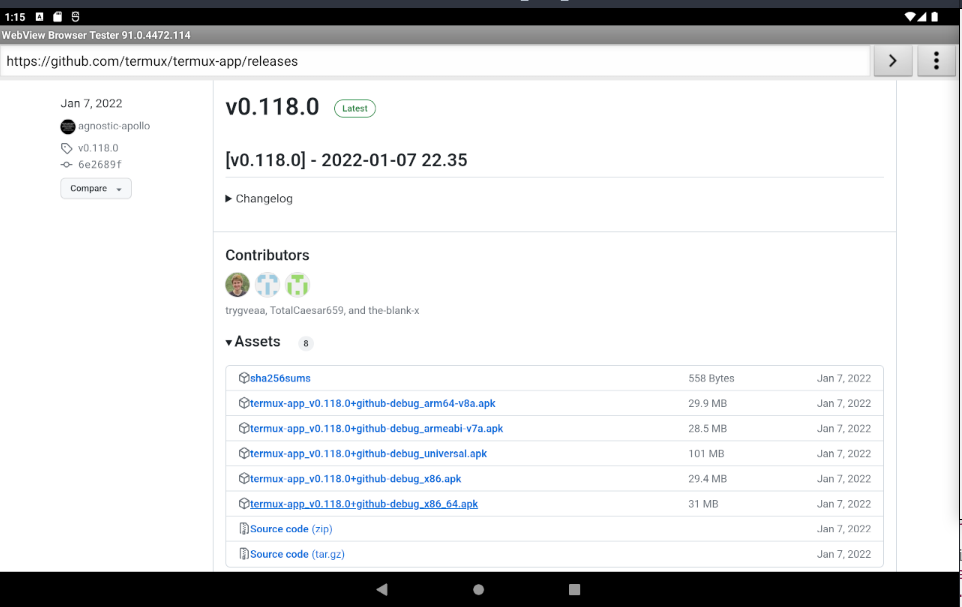
If you install from GitHub, be sure to take the version appropriate for you device architecture. If you are unsure, or do not know what your device’s architecture is, take the termux-app_v*+github-debug_universal.apk app.
Whether you install from GitHub or F-Droid you will need to OK installation from “untrusted” sources. Please see this guide.
Once you have installed the Termux app, go a head and launch it as any other app on your device. You will be greeted by black screen with text on it. Take a minute to read the text. More information, including a “Getting Started” Guide is available at the Termux Wiki pages.
Give Termux Access to Android File System
After these two commands have finish, you must set-up Termux to have access to the regular device file system
pkg update
pkg upgrade
pkg install -y termux-tools wget openssl
termux-setup-storage
In the pop-up dialog shown, select Allow. This is kinda important so that you can use your regular Android browser to download VASSAL modules and they become available inside Termux environment.

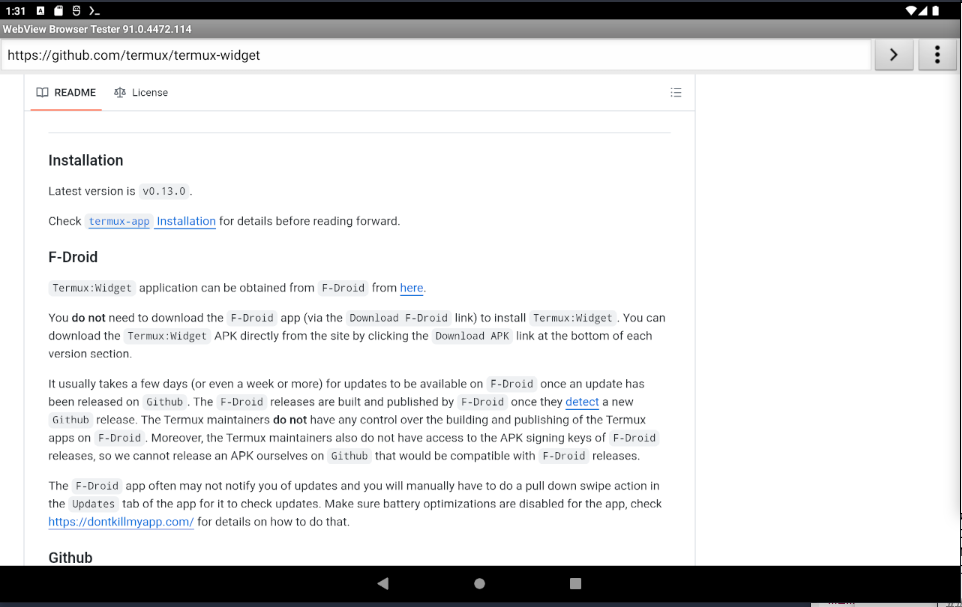
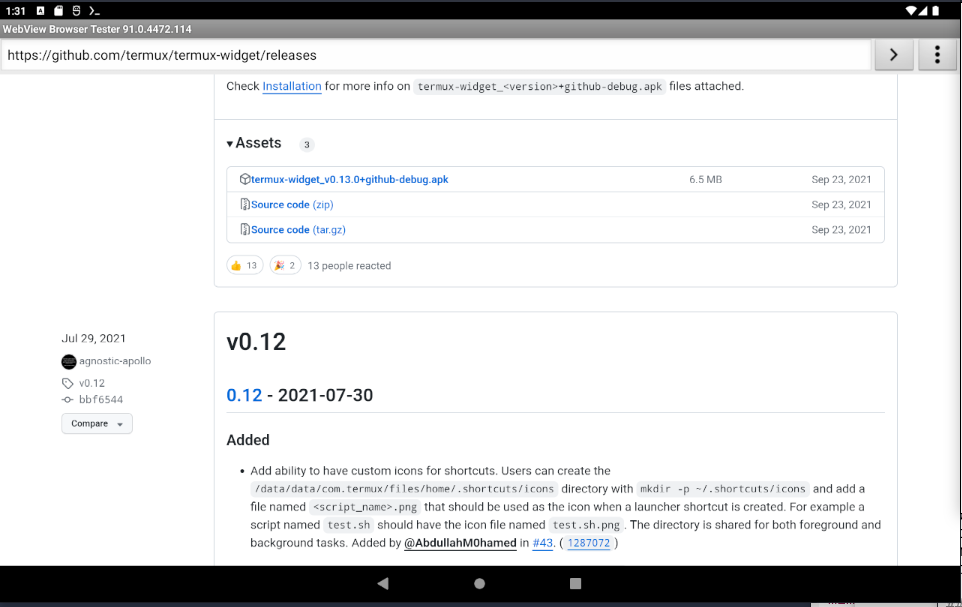
Optionally, Install Termux:Widget app
To able to launch VASSAL directly from the home screen of your device, you need to install the Termux:Widget Android app. Please follow the installation instructions. As for Termux, do not install the app from the Google Play store.
Note, to make the widget work, you need to allow Termux to draw over other apps.
- Open the Android settings
- Navigate to Apps and select Termux
- Scroll down and enable drawing over other apps
Install a VNC client
Pick any VNC client you like form the Google Play store (I chose RealVNC). Open up the app, and go past any introduction screens.
About Choosing a VNC Client
Your choice of VNC client largely determines your experience with VASSAL on your device. It is therefore worth a little effort to look around for the client that will best suit your needs. For VASSAL, you want the client to have a good mouse emulation and perhaps an improved on-screen keyboard. If the VNC client supports physical keyboard and mouse connected to the device (f.ex. via Bluetooth), then that is also attractive.
Installation and setup of packages and VASSAL
This is the recommended way to get you set-up with VASSAL on an Android device. No Warranty!
-
Start up Termux
-
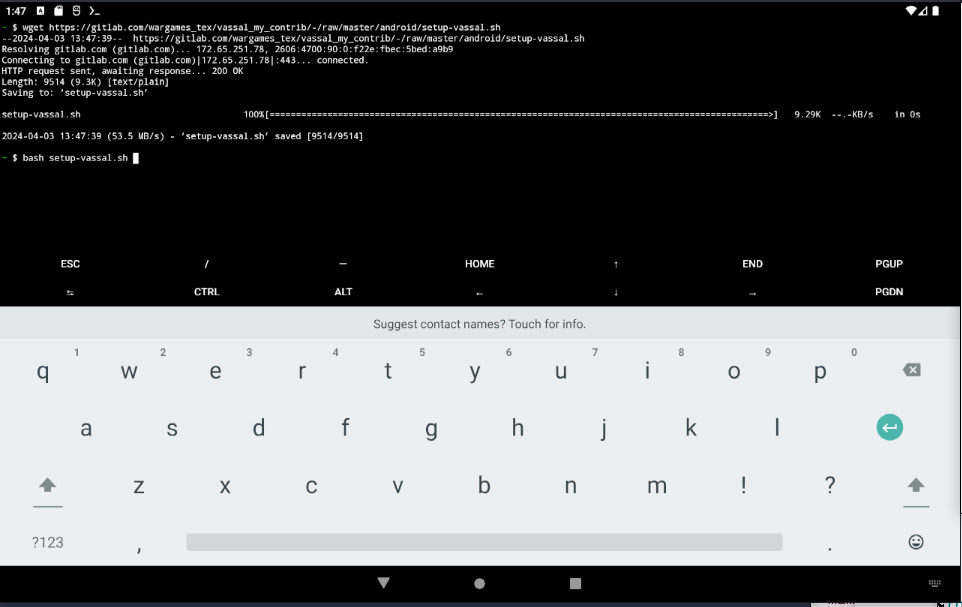
In the terminal type
wget https://gitlab.com/wargames_tex/vassal_my_contrib/-/raw/master/android/setup-vassal.sh -O setup-vassal.sh bash setup-vassal.sh -
Follow the on-screen instructions
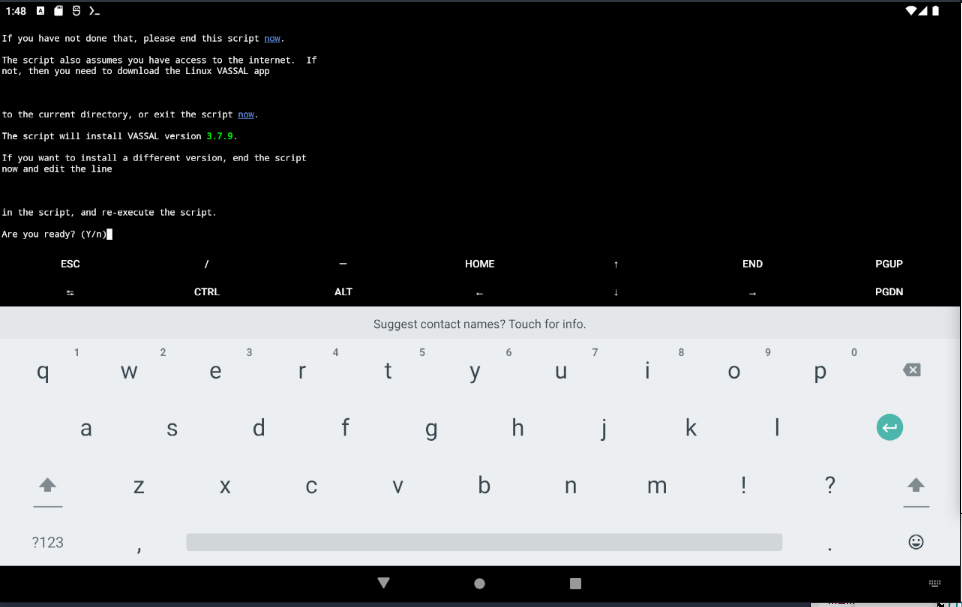
The script setup-vassal.sh basically does these steps. If you have problems with it, open a thread in the Technical Support & Bugs Forum.
The setup-vassal.sh script by default install the latest Java and VASSAL versions available. To set specific version, use the options -j and -v, respectively. For example, to install VASSAL version 3.7.23, do
bash setup-vassal.sh -v 3.7.23
More information is available via the --help option
bash setup-vassal.sh --help
Adding a Widget to the Home Screen (optional)
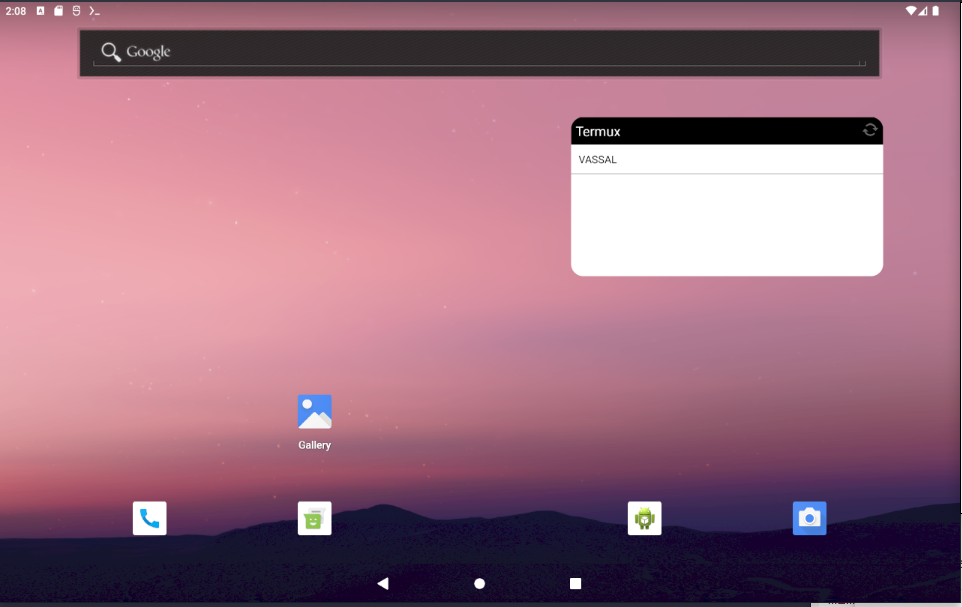
If you installed Termux:Widget, then you can add a Termux widget to the home screen from which you can launch VASSAL.
Now we need to add the widget to the Android home screen.
-
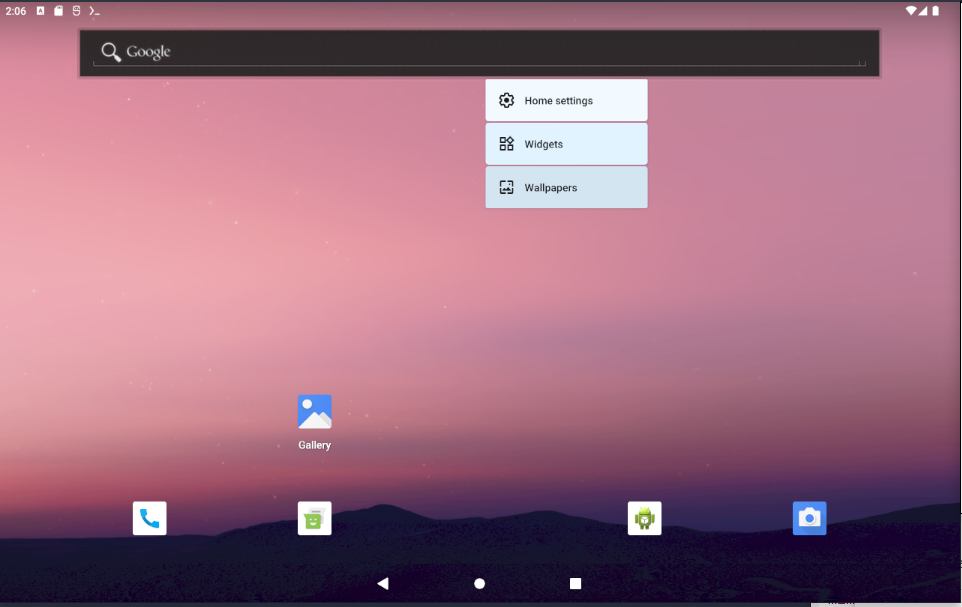
Go back to the Android home screen and long-press the background.
-
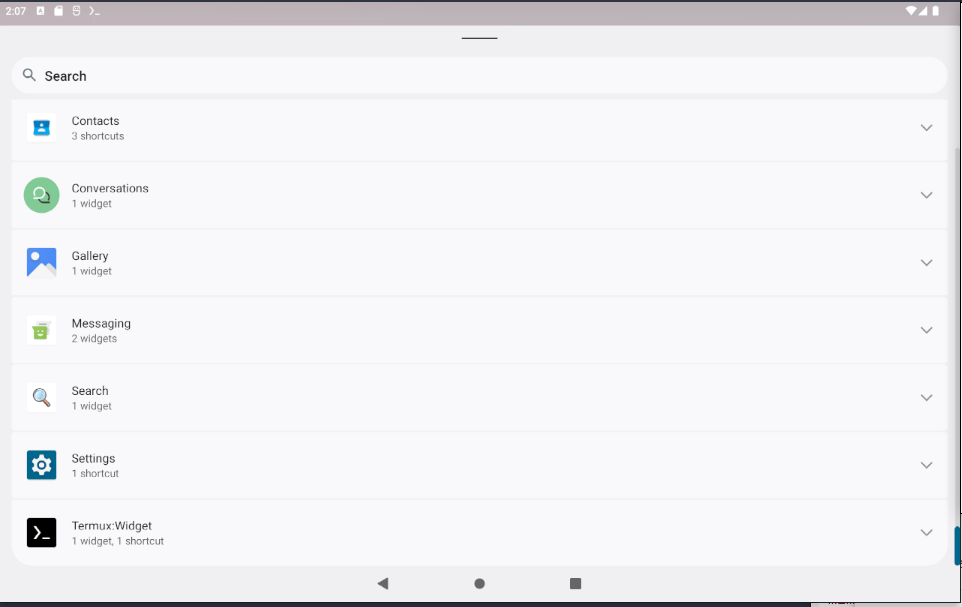
In the pop-up menu, select Widgets and scroll down to find Termux:Widget. Long press it, and drag to the Home screen.
-
You will see a small widget (default 2x2) with a list of Termux short-cuts - in particular the short cut VASSAL. You can click that to launch the VNC server and client in one go and have VASSAL running in the Termux GUI environment.
Updating the setup
The latest setup-vassal.sh script is from January 26, 2025. If you ran the script prior to that, then consider to download the latest script and run it again (see above). It will not tamper with your modules, saves, and logs.
Note, you may need to remove previous set-up scripts so as not to get confused about which to run. Do
rm -f setup-vassal.sh*
before downloading the new set-up script.
Note: The set-up script will overwrite your ~/.vnc/config settings. So if you made changes to the screen resolution, perhaps you want to make a back-up first
cp .vnc/config .vnc/config.backup
Clean after setup
After having run the setup script, you may want to clean-up a bit. Do in Termux
rm -f *.log *.tar.bz2 setup-vassal.sh
Running VASSAL
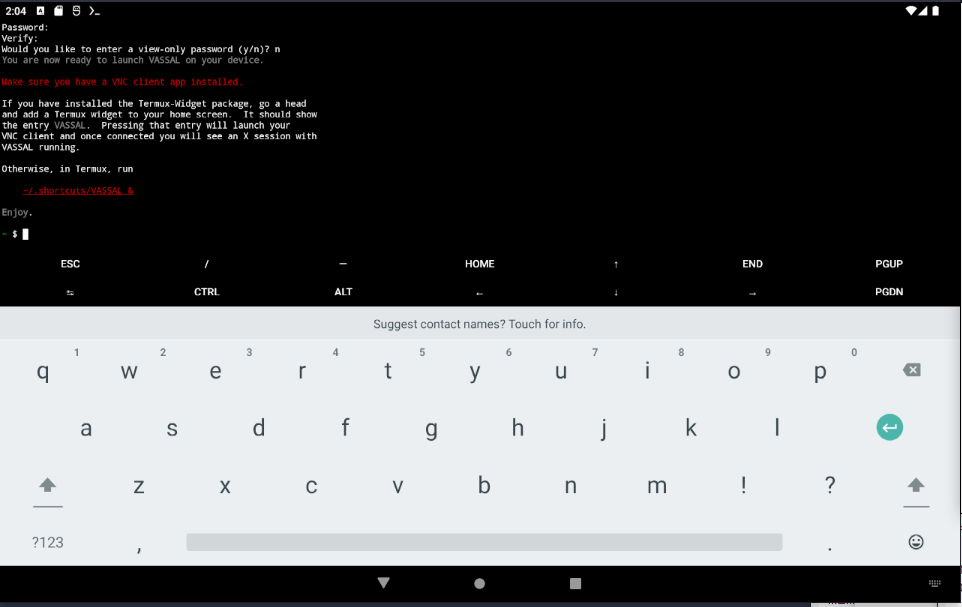
If you installed the home-screen-widget, then you should be able to launch VASSAL by clicking the VASSAL entry in that widget.
Otherwise, you can start VASSAL by opening up the Termux app and type
~/.shortcuts/VASSAL start
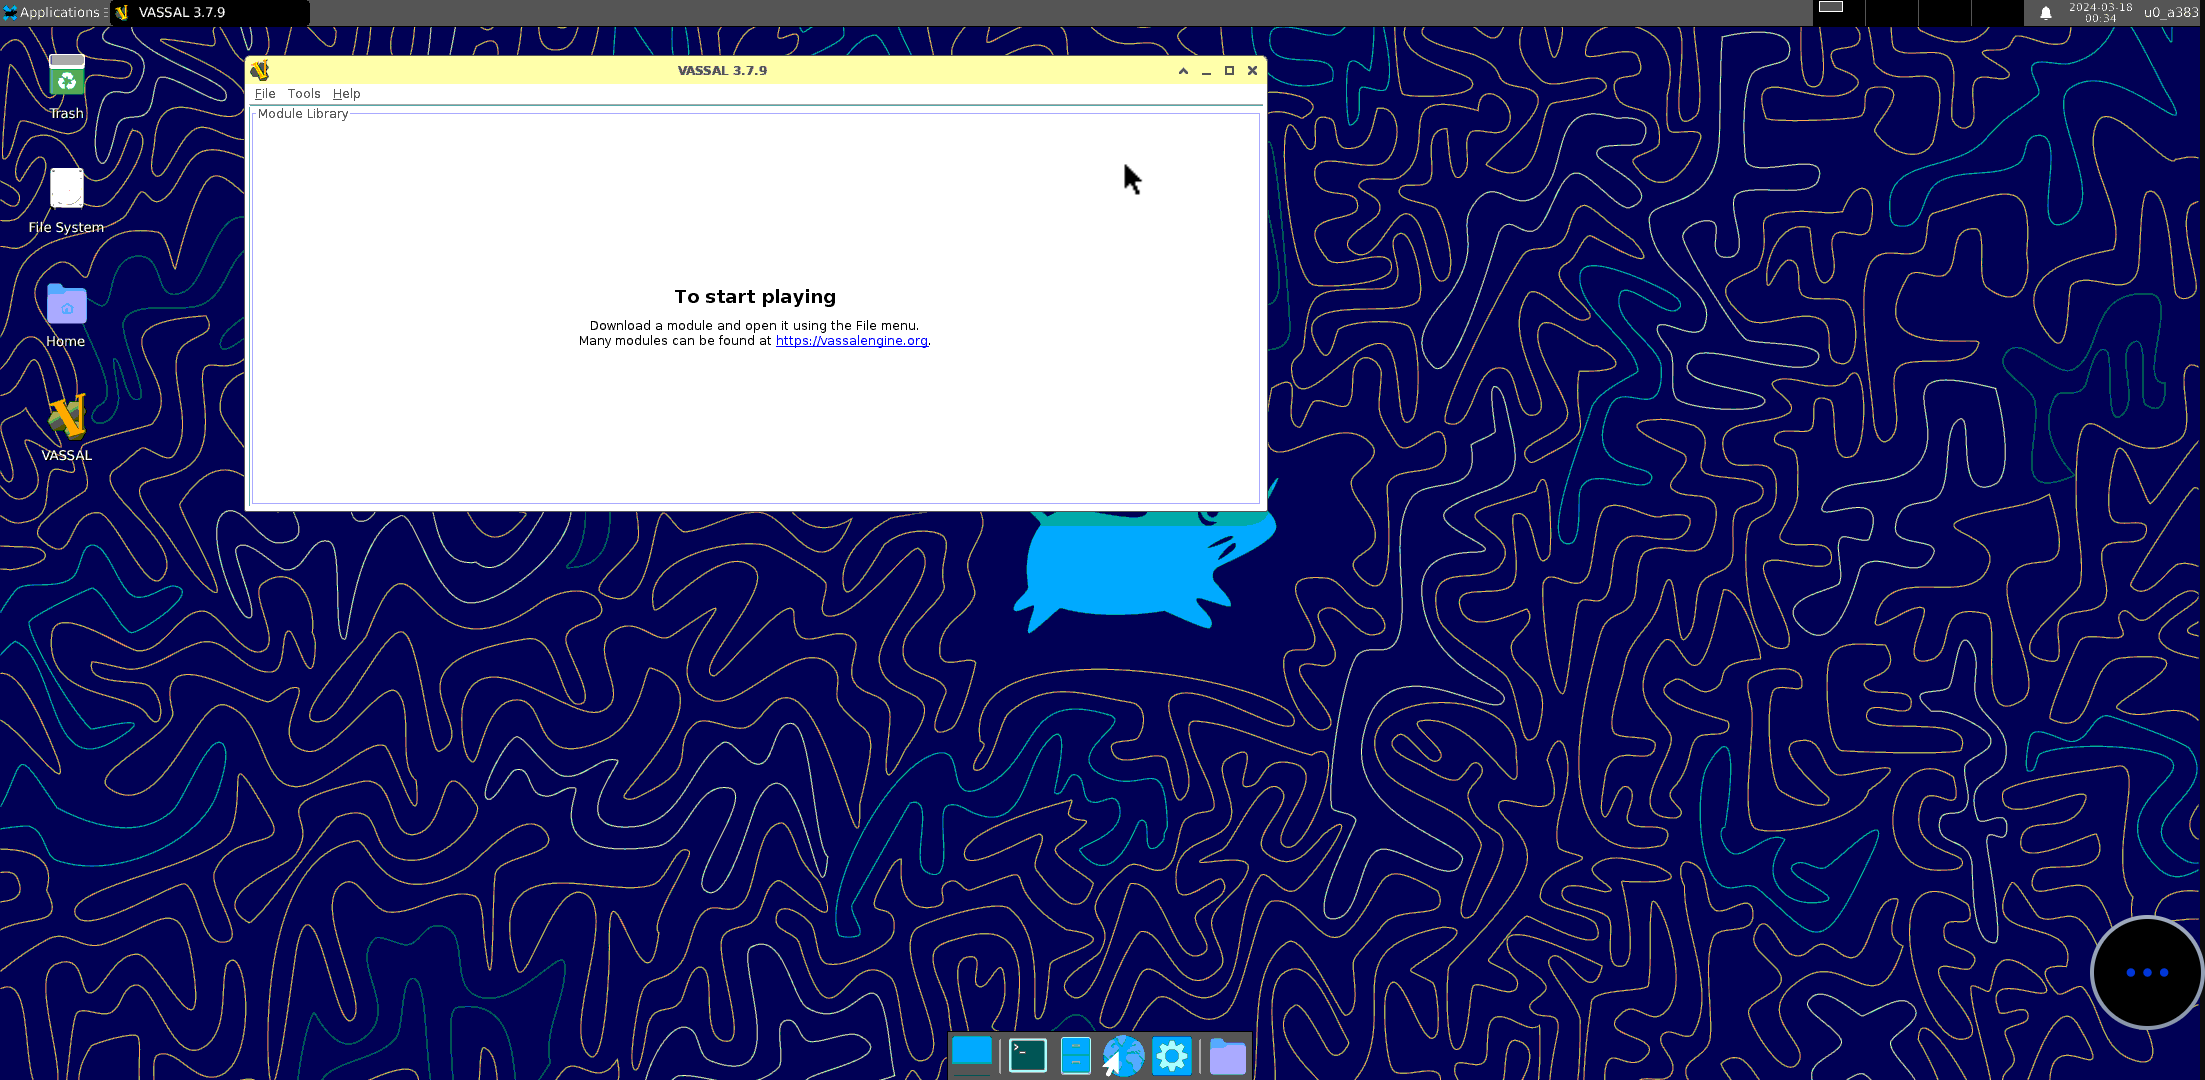
In the desktop environment either click the Desktop icon or open a terminal
- Select the Applications menu in the top-left corner of your screen
- Select Terminal Emulator
In the terminal run
vassal
VASSAL running in the Termux GUI:
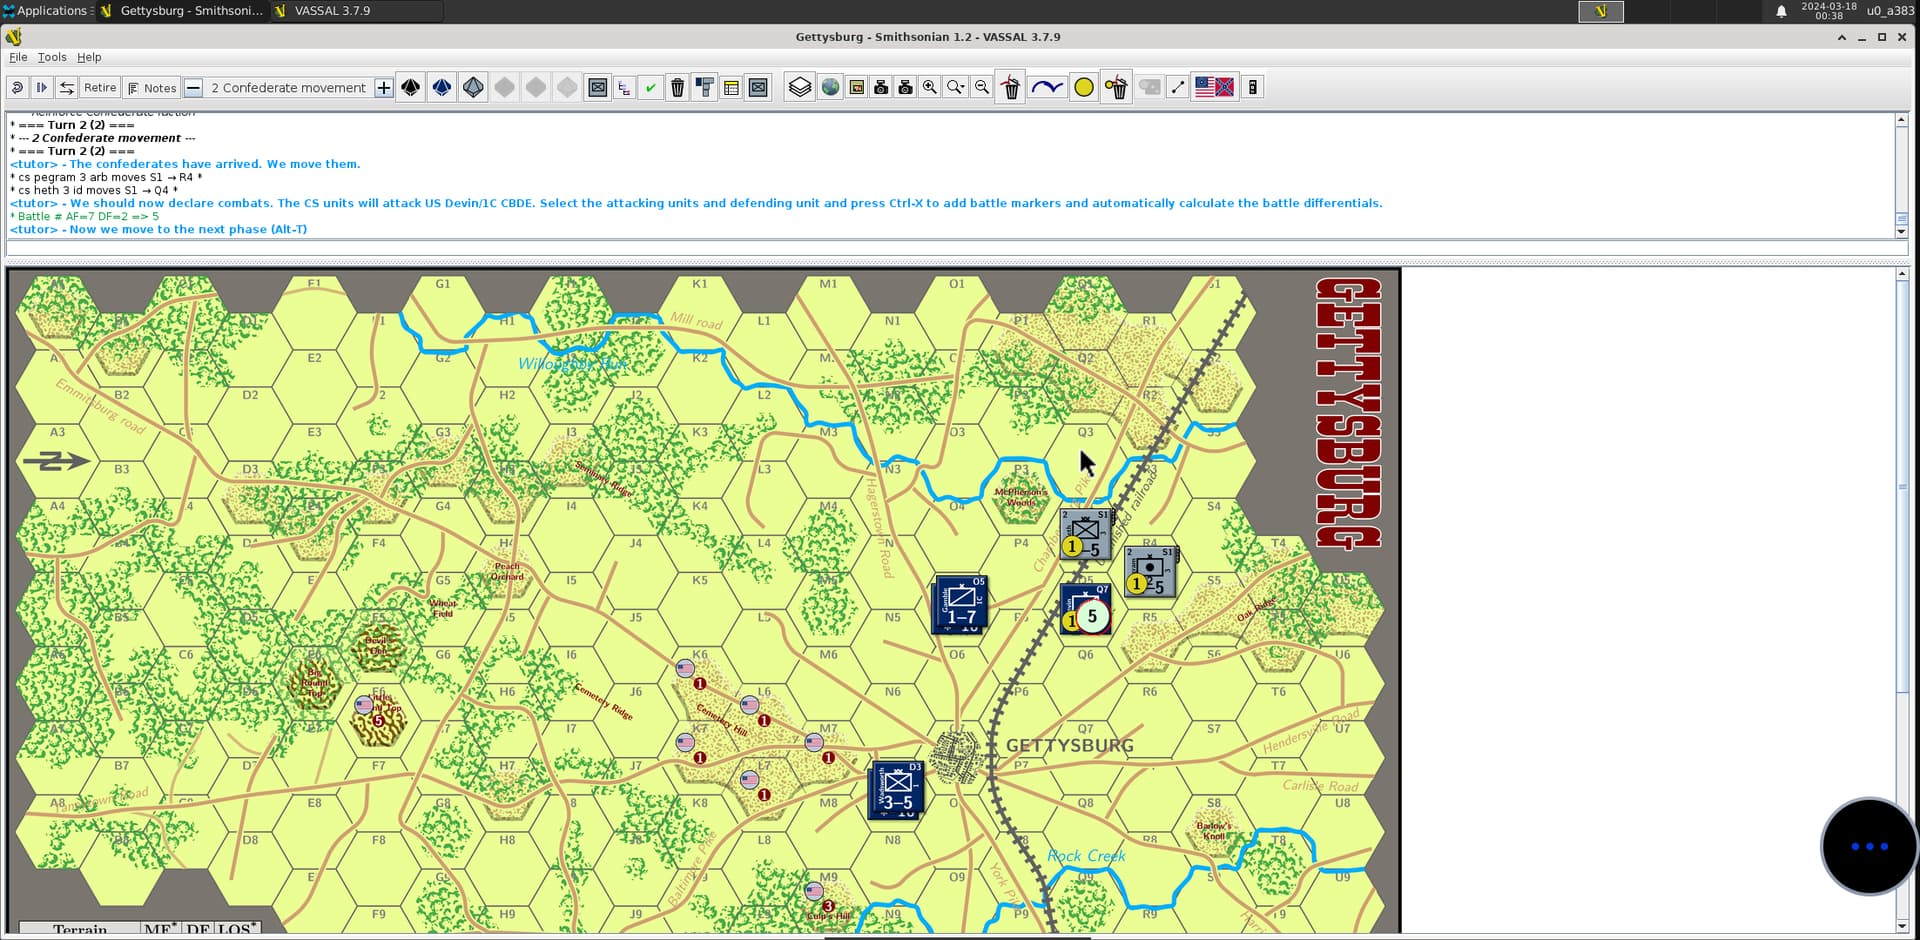
Running my version of the Gettysburg (125th Anniversary Edition) module (1.2-ch):
Stopping the VNC Server
Once you are done using VASSAL, simply quit the VASSAL application in the X session, which will automatically close that session. If that doesn’t work for you, you should stop the VNC server. In the Termux app execute
~/.shortcuts/VASSAL stop
or
vncserver -clean -kill :1
to stop the VNC server. The VNC client will be disconnected automatically and you can close that app too.
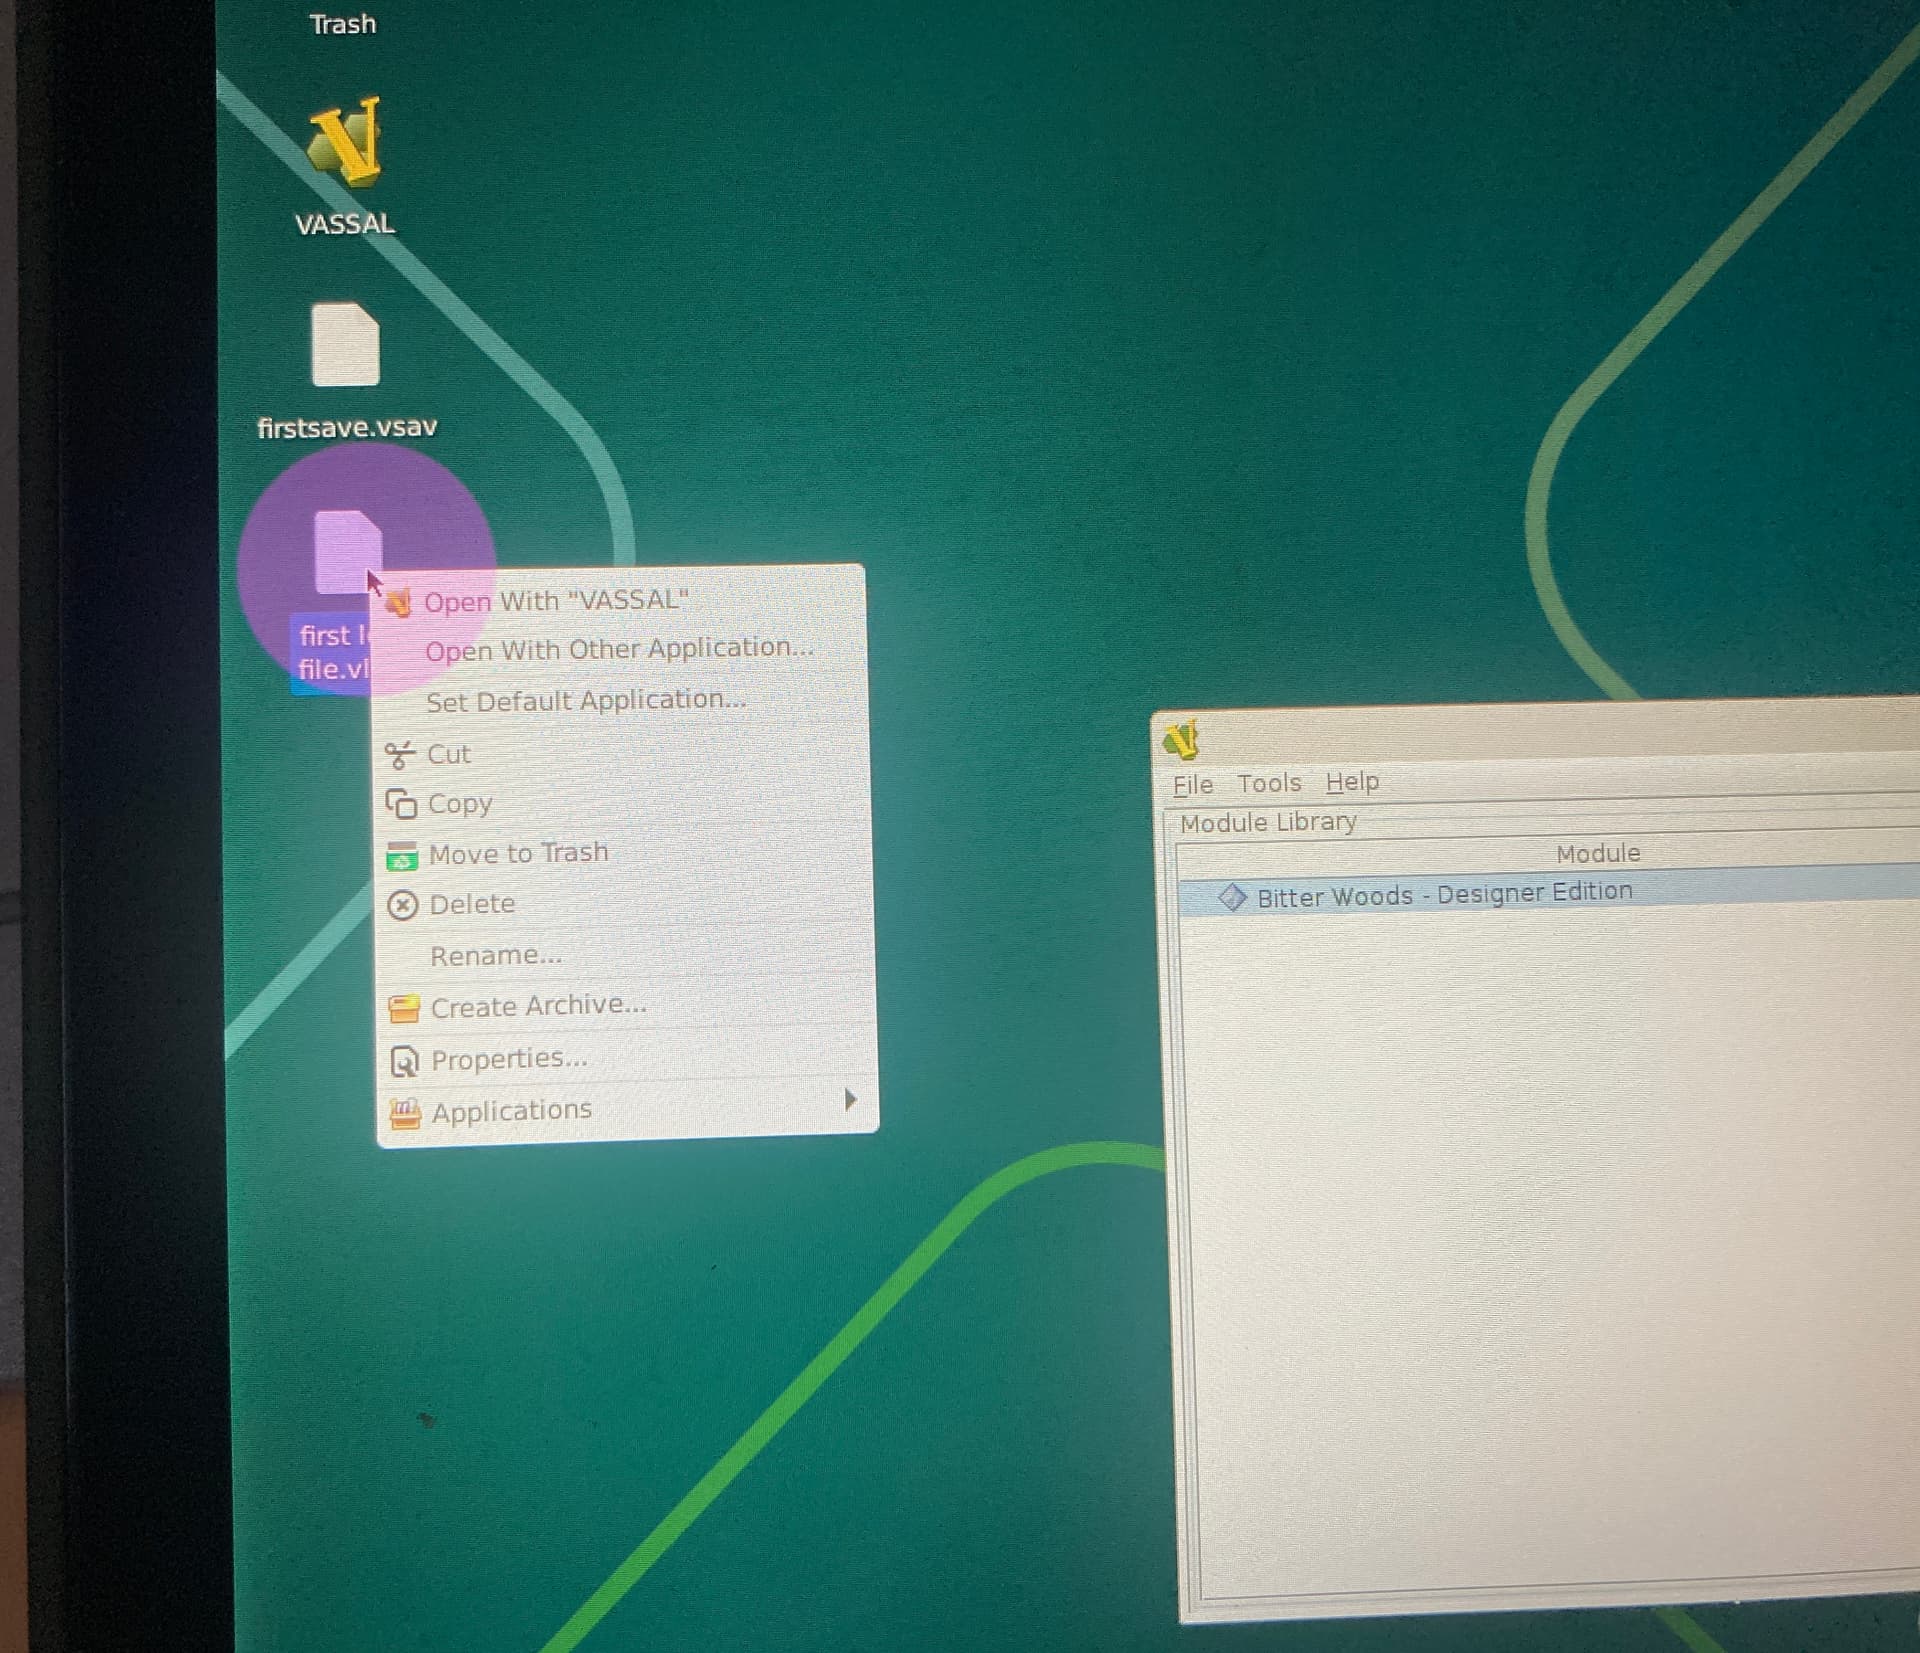
Getting VASSAL modules
To get your favourite VASSAL module, visit
https://vassalengine.org/wiki/Category:Modules
with your regular Android Web-browser, and download the module to your Android Download folder. For example, I took a version of the Gettysburg (125th Anniversary Edition) module (1.2-ch), which gave me the file
GettysburgSmithsonian-1.2.vmod.zip
in my Android Download folder. Note that Google Chrome appends the .zip to the file name - it doesn’t actually put the file into a ZIP archive.
You should move the VASSAL modules to your Termux environment. Go back to the Termux app, and do for example
cd /sdcard/Downloads/
mv GettysburgSmithsonian-1.2.vmod.zip GettysburgSmithsonian-1.2.vmod
to remove the .zipfrom the file name. Here cd means “change directory” and mv means “move”.
Then, go back “Home” in Termux
cd
and make a directory to hold your VASSAL modules, named for example
VMods.
mkdir -p VMods
Here, mkdir means “make directory”.
We can then move our module there to that we have all our modules in a meaningful place
mv /sdcard/Download/GettysburgSmithsonian-1.2.vmod VMods/
You can also leave modules in the regular Android user file system, in which case the modules will be in some sub-directory of
/sdcard
in your GUI session.
Alternative
You can also use the script get_vmod.sh. First, you should download it and make it executable
wget https://gitlab.com/wargames_tex/vassal_my_contrib/-/raw/master/android/get_vmod.sh -O get_vmod.sh
chmod a+x get_vmod.sh
Then, you can execute it with a URL pointing to the module, and perhaps a URL pointing to an icon that will be used in the widget launcher. For example, to get Napoleon at Waterloo, do
./get_vmod.sh -u https://obj.vassalengine.org/images/b/ba/NapoleonAtWaterloo-ch-1.1.0.vmod -i https://obj.vassalengine.org/images/0/08/Pic2236172.jpg
This will download the module to your ~/VMods directory and add a short-cut to your VASSAL home-screen widget. Note that the icon should preferably be a PNG image of a size of at least 96px x 96px, but not too big either. If the image is not a PNG it will automatically be converted to a PNG. If you do not provide an icon URL, the module will still be downloaded and the short-cut made - it just won’t have an icon.
You can find the URL of modules in the VASSAL library by right-clicking (or long press) the module links and select something like Copy link address. For images, you typically want the thumbnail associated with the module. Click the image and in the page that opens, right click (or long press) the image filename and select Copy link address.
Restarting
If you [made a widget](#adding a-widget-to-the-home-screen-optional), simply tap the VASSAL entry again. Otherwise, open op Termux and do
~/.shortcuts/VASSAL start &
Adjust the screen resolution and configure VNC server
If the screen resolution fits your device poorly, then you may want to change it. Do
nano ~/.vnc/config
to make edit the configuration file for our VNC server. In nano you can edith lines
# Configuration of tigervnc
# See also https://tigervnc.org/
localhost
depth=24
geometry=2400x1080
and then [ctrl]-x followed by y, and then [enter] to save the file and quit nano. See also [~/.vnc/config][dot-vnc-config].
Note that the argument to geometry defines the resolution of the graphical interface. You should adjust that to suit your device. Search the World-Wide-Web to find out which resolutions your device supports. If in doubt, fall back to something like 1024x768.
Note that if the resolution is set to higher than your device, then you will have a virtual screen that you can pan in (depending on the capabilities of the VNC client).
The localhost setting above means that only clients on the same device may connect to the server, thus limiting the risk of malicious “guests” to your device.
You can adjust many settings of the VNC server in the ~/.vnc/config file. Please refer to the TigerVNC documentation for more.
Upgrading VASSAL
If you want or need to upgrade your VASSAL installation, you should
-
From your regular Android browser, navigate to the VASSAL site and download the VASSAL version for Linux that you need - say
VASSAL-3.7.10-linux.tar.bz2 -
Open your Termux app
-
Unpack the downloaded VASSAL archive
cd tar -xjvf /sdcard/Download/VASSAL-3.7.10-linux.tar.bz2 -
Remove the old current link
rm VASSAL-current -
Make the newly unpacked installation the current one
ln -s VASSAL-3.7.10 VASSAL-current -
You may want to delete the old (say 3.7.9) installation to free up some space, as well as the downloaded archive
  rm -rf VASSAL-3.7.9
  rm -f VASSAL-3.7.10-linux.tar.bz2
Upgrade Termux Packages
From time to time, you should upgrade the packages installed inside Termux. Do
pkg update
pkg upgrade
More
Below are some tricks to get more out of your installation. If the installation and setup of packages and VASSAL via script worked for you, then these steps are more or less done already.
VNC start, stop, and connect
To start the VNC server, do in the Termux app
vncserver :1 &
To stop the VNC server, do in the Termux app
vncserver -clean -kill :1
To launch your default VNC client, do in the Termux app
termux-url-open vnc://localhost:5901
Download modules in the Termux GUI
In the VNC client connection to your Termux environment, open a terminal as described above and type
netsurf
This will open a simple web-browser, which you can then direct to
https://vassalengine.org/wiki/Category:Modules
to find the module you want. By default, the modules are downloaded to your Termux home directory. You can move them to your VMods directory by typing in the terminal
mv ~/DDaySmithsonian-2.0.vmod ~/VMods/
for example.
Launch VASSAL with specific module, save, or log
Assuming your modules are put in ~/VMods, and we want to run the module GettysburgSmithsonian-1.2.vmod, then in Termux, run
.local/bin/vncvassal start xvassal -l $HOME/VMods/`GettysburgSmithsonian-1.2.vmod`
This will launch the VNC server, and connect with your VNC client, and in the X session you will have VASSAL running with the chosen module.
You can replace GettysburgSmithsonian-1.2.vmod with the filename of your favourite module, save, or log file. Note, spaces in the file names can be a problem. Consider to rename your file to something without spaces. That is easily done with
mv "File name with spaces" `echo "File name with spaces" | tr ' ' '_'`
which will result in File_name_with_spaces.
From the Android home screen via Widget
Again, suppose we want to play GettysburgSmithsonian-1.2.vmod and we want to add an entry to the Termux widget menu. Then do
nano .shortcuts/Gettysburg_Smithsonian
and put the content
#!/data/data/com.termux/files/usr/bin/bash
${HOME}/.local/bin/vncvassal start xvassal \
    -l $HOME/VMods/`GettysburgSmithsonian-1.2.vmod`
Using a minimal graphical interface
By default, the scripts above uses the Xfce desktop environment. But, in some sense using a complete desktop environment is overkill. What we really only need is a window manager.
By replacing xvassal with xsimple_vassal in the above commands, you can opt to use the FluxBox window manager. This window manager is pretty simple and therefore light on the resources that it uses. Your VASSAL experience shouldn’t be much different from Xfce, except that regular desktop tools - such as file manager etc., are a bit more hidden away. On the other hand, you will get a clean desktop.
`